You stand in front of a table saw, unsure why your rip cuts wander and your crosscuts don’t match the fence measurement. You thought alignment and a good blade would be enough, but inconsistent feeds and bad setups keep ruining parts.
Most woodworkers blame skill or the saw itself when the real problem is simple setup, sleds, fences, and blade choice. This introduction will show you exactly how to set up a stable table saw, pick the right blade, and use fences, sleds, and stops so your rips, crosscuts, and sheet goods come out accurate and repeatable. It’s easier than you think.
Key Takeaways
If you’ve ever stood in a shop wondering what to buy first, this is why.
It matters because a single machine that handles most cuts saves you time, space, and money. For example, if you’re building a six-drawer dresser, you can rip long drawer sides, crosscut fronts to length, and cut bevels for the drawer face—all from the same setup with one saw and one fence.
1) Why does a table saw replace multiple machines?
- It combines power, precision, and speed for rip, crosscut, miter, and bevel work, so you won’t need separate machines for each task.
- Real-world example: When you’re breaking down a 4×8 sheet of plywood into cabinet carcases, you can rip 24″ strips, crosscut those to 36″, and trim edges with a single blade change.
- How to use it: 1) Set blade height so teeth clear the material by 2–3 mm; 2) Align the fence parallel to the blade within 0.5 mm; 3) Feed the work at a steady 0.5–1 m/s for plywood and 0.2–0.5 m/s for hardwood.
If you want straight, repeatable parts, this is why.
It matters because a flat table and a true arbor let you feed stock straight and get consistent widths every time. For example, when cutting ten identical table legs from a blank, a square fence and a sled keep each cut within a millimeter of the last.
2) How does accuracy come from the table and arbor?
- A flat table and true arbor deliver straight feeds and consistent widths for repeatable, accurate parts.
- Real-world example: Use a crosscut sled to cut ten 450 mm slats for a bench; each slat will match within ±0.5 mm when the sled and fence are trued.
- How to achieve it: 1) Check table flatness with a straightedge across every 300 mm; 2) Remove arbor runout by tightening flange bolts and verifying with a dial indicator under 0.02 mm; 3) Test cut a scrap and measure with calipers.
If you want to move lots of sheet goods fast, this is why.
It matters because the right blade and fixtures let you process large panels quickly without tearout. For example, cutting three sheets of melamine into shelves is faster with a high‑tooth count blade and an auxiliary outfeed table.
3) How do you process sheet goods quickly and cleanly?
- With proper blades and jigs, the table saw rapidly processes sheet goods and stacks for high workshop productivity.
- Real-world example: Fit a 80-tooth TCG blade, use an auxiliary roller table, and you can crosscut three 4×8 sheets into 600 mm panels in under 10 minutes.
- How to set up: 1) Use a 60–80 tooth carbide blade for melamine and veneered plywood; 2) Add an outfeed roller and a mobile infeed cart; 3) Score edges with a zero-clearance insert when cutting thin laminates.
If you want reliable repeated production cuts, this is why.
It matters because jigs and setup techniques make fast production both safe and consistent. For example, when you need fifty identical cleats, a stopped fence, miter gauge, or sled can cut them at the same length without remeasuring.
4) What setups make production cutting fast and reliable?
- Robust setup techniques (squared fence, sleds, stops) make repeatable production cuts fast and reliable.
- Real-world example: Use a crosscut sled with a stop block set to 120 mm and cut fifty cleats in a single run without measuring each piece.
- How to do it: 1) Square your fence to the blade with a combination square within 0.5 mm over 300 mm; 2) Build a crosscut sled and lock a stop block with a clamp; 3) Test with a scrap and mark the sled when dimensions match.
If you only have one saw, this is why you won’t need many others.
It matters because for most common tasks the table saw handles the job, leaving specialty tools for specific cuts. For example, you’ll still use a bandsaw for resawing a 2″ board or a jigsaw for tight curves, but the table saw will do 90% of cabinet and furniture joinery work.
5) When should you pick another tool instead?
- For many tasks it’s the most versatile option; alternatives are chosen only for resawing, curves, or very narrow/delicate cuts.
- Real-world example: Use a bandsaw to resaw a 50 mm walnut blank into two 25 mm slabs; don’t force that on the table saw.
- How to decide: 1) If the cut is curved or the piece is under 10 mm wide, use a jigsaw or scroll saw; 2) If you need to resaw thicker stock (>40 mm), use a bandsaw; 3) Otherwise, use your table saw.
Why the Table Saw Is the Shop Workhorse
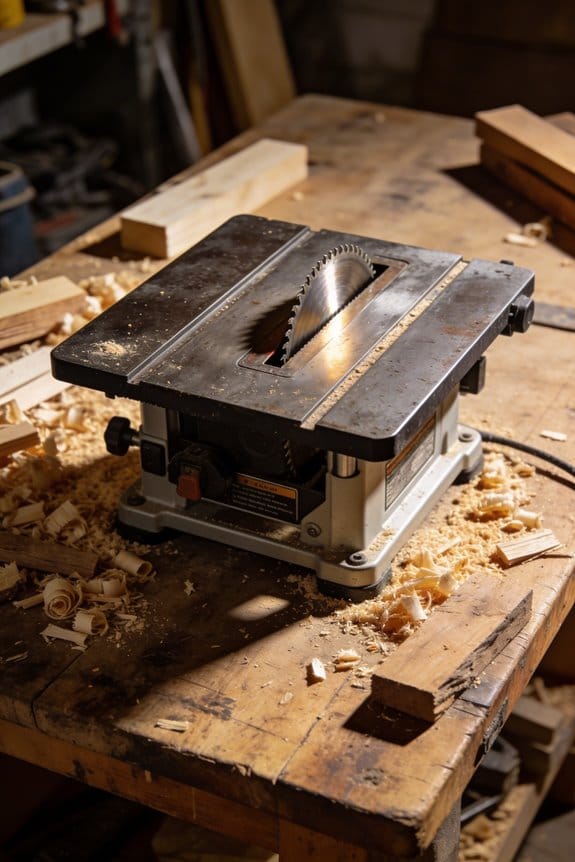
Think of the table saw like the backbone of your shop: it combines power, precision, and speed so you can handle most cutting tasks quickly and accurately. You’ll use it for rip cuts, crosscuts, miters, and bevels, which keeps other tools from piling up and frees up storage space for clamps and jigs.
Why this matters: you save time and bench space when one machine does many jobs. Example: when I needed ten identical 3/4″ oak shelf sides at 18″ long, I ripped a stack on the table saw in two passes and finished the ends with a quick crosscut—each piece matched within 1/32″.
How to get repeatable, accurate setups:
- Square your fence to the blade: measure 12″ from the blade to the fence at the front and back; they should match within 1/32″.
- Use a zero-clearance insert and a sharp blade for cleaner cuts and fewer tear-outs.
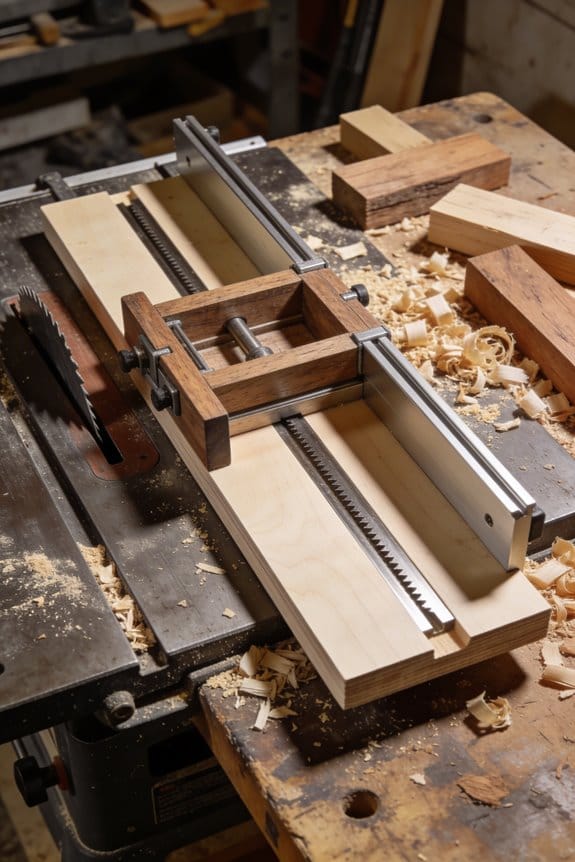
- Build a simple crosscut sled: a 24″ plywood base with a straight fence makes repeatable 18″ ends fast.
The flat table and true arbor give a straight feed, so you’ll get consistent widths and straighter edges than hand tools. For plywood and MDF, the saw saves huge time: cut a 4×8 sheet into 12″ wide strips in under a minute per cut and avoid the wobble you get with a circular saw. Example: I ripped an 8′ sheet into four 24″ strips in about three minutes total, with edges ready for edge banding after a light sanding.
How to balance finish and speed:
- Choose a blade: 40–50 TPI for clean plywood cuts, 24–40 teeth for ripping hardwood quickly.
- Set blade height so the gullets clear the board—about 1/8″ above the top surface for most cuts.
- Feed at a steady pace; don’t force it.
Integrating fences, sleds, and dado stacks increases productivity because setups stay repeatable and accurate. Example: when cutting ten dados for case shelves at 3/8″ wide and 1/2″ deep, I used a stacked dado and an adjustable stop on the sled to make every slot identical in under ten minutes.
Final practical notes:
- Always use a push stick or push block when your hand comes within 6″ of the blade.
- Wear hearing protection and a dust mask; a shop vacuum on the blade guard reduces dust by about 70%.
- Keep at least one spare blade: a dedicated plywood blade and a rip blade cover most jobs.
You’ll find the table saw centralizes core cutting, speeds production, and supports precise joinery without buying extra machines.
Safety Trade-Offs and Protections for Table Saws
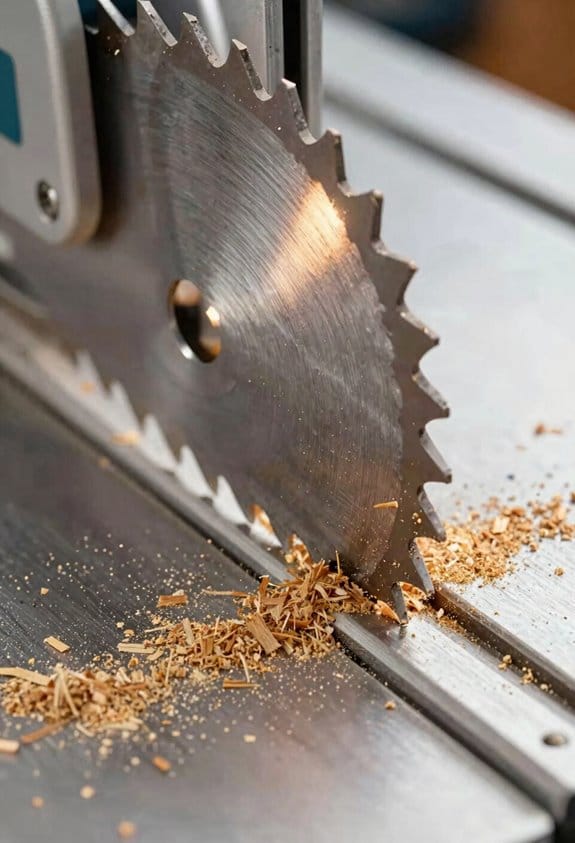
Before you use a table saw, you need to know what’s at stake: blade contact and kickback can put you in the hospital. For example, a friend of mine lost fingertip skin when a rip cut grabbed a small offcut and slammed it back; that hospital trip cost him a week of work.
1) What safeguards stop blade contact?
Why it matters: reducing direct contact cuts the chance of a finger injury dramatically.
– Use a riving knife and blade guard every time you make a through-cut.
Example: when ripping a 2×4, fit the riving knife so it sits just behind the blade, aligned within 1–2 mm; the guard then prevents your hand from slipping onto the teeth.
– Always use a push stick or push block when your hands come within 6 inches (15 cm) of the blade.
Example: on a 10-inch blade set to cut 3/4″ plywood, stand to the side, hold the stock against the fence with one hand, and use a push stick to feed the last 8–10 inches through.
– Keep blades sharp and clean; replace or sharpen when cuts start to burn or tear. A dull 10″ carbide blade should be sharpened after about 100–200 board feet of plywood cutting.
2) How do you prevent kickback?
Why it matters: controlling the workpiece stops it from being thrown back at you at high speed.
– Align the fence within 0.005–0.010 inches (0.13–0.25 mm) parallel to the blade; use a reliable digital caliper or a reliable straightedge.
Example: measure at the front and back of a 24″ rip; if the difference is more than 0.010″, loosen the fence and shim until it’s within tolerance.
- Fit anti-kickback pawls when crosscutting or using the sled; they grab the wood if it tries to kick back.
- Use featherboards to keep stock pressed to the fence or table; clamp one so it applies consistent lateral pressure over the last 12–18 inches of the cut.
- Never stand directly behind the path of the blade; stand to the side at a 30–45° angle.
3) Should you add electronic injury-mitigation systems?
Why it matters: they can stop or reduce damage during a blade contact event, but they cost money and require setup.
– Consider systems like flesh-detection trips if you cut high-value work or frequently work alone; expect installation and cartridge replacement costs.
Example: installing a flesh-sensing brake on a contractor saw might cost $300–$1,500 and prevent a major injury, but it adds a few seconds to setup each time.
– If cost is a barrier, prioritize physical safeguards and technique first.
Practical routine to follow every time
Why it matters: a consistent routine prevents mistakes that cause accidents.
- Inspect blade, guard, riving knife, and fence alignment.
- Set blade height: top of the teeth should sit about 1/8–1/4 inch above the stock for ripping.
- Attach featherboards and anti-kickback pawls when needed.
- Position yourself to the side, use a push stick when within 6 inches of the blade, and keep both feet stable.
- Run the cut steadily; don’t force stock through.
If you treat these steps as mandatory rather than optional, your chances of a bad injury drop sharply.
Recommended Products
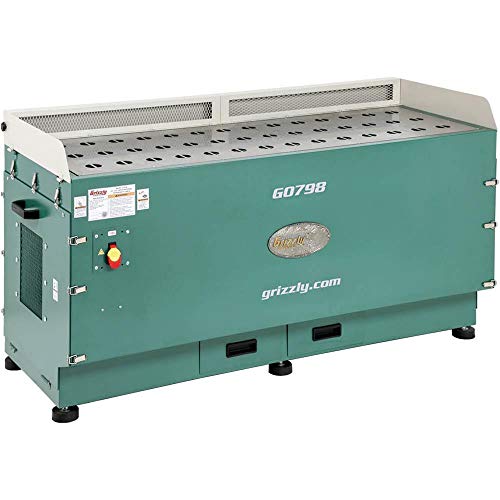
Includes full manufacturer warranty

Table dimensions 30 x 30 1/2 In.

This sliding table is built for versatility. Micro-adjust for detail cuts, and crosscut full sheets with the 55" travel and 48" crosscut capacity.
Table Saw Versatility: Rips, Crosscuts, Miters, and Bevels
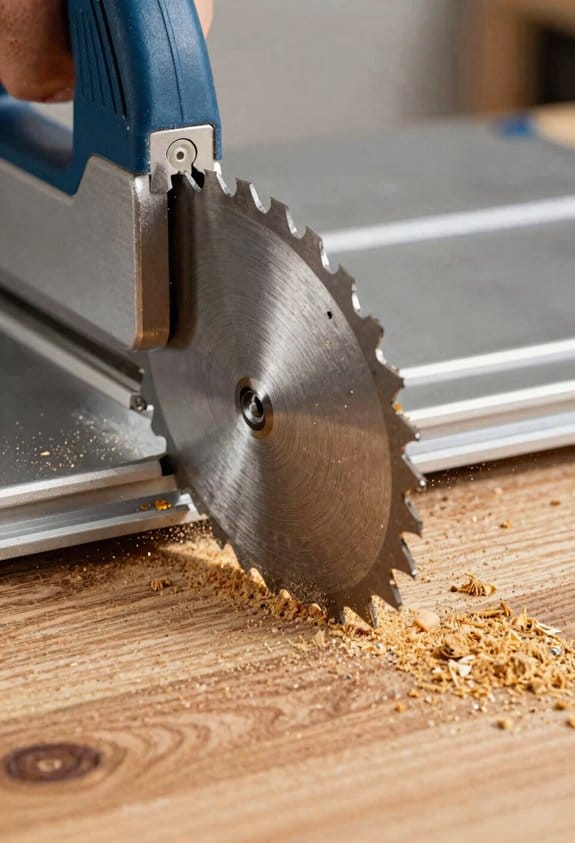
Before you set up your table saw, know why it matters: a correct setup keeps your cuts accurate and your fingers safe.
Start by remembering that the table saw is a multi-tool at the center of most shops, able to do rips, crosscuts, miters, and bevels with the right setup and blade. If you want a straight rip, do this:
- Use a straight fence and a sharp 24-tooth rip blade for stock over 1″ thick.
- Set the blade height so the gullets clear the wood — about 1/4″ above the top of the workpiece.
- Feed at a steady pace of roughly 20–30 inches per minute for hardwoods.
Real-world example: ripping a 6″ wide poplar board down to 3″ for a frame — clamp a featherboard to the fence and make two passes if needed.
Before you crosscut, understand why it matters: crosscuts are where square ends and tear-out make or break a project. Use a sled or a miter gauge, and follow these steps:
- Build or use a crosscut sled with a 90° fence that registers against the saw’s table.
- Make a test cut on scrap and measure both faces; adjust the fence if the ends aren’t square within 1/32″.
- Use a 60-tooth crosscut blade for clean faces and cut with a firm, even push.
Real-world example: cutting 1x maple boards to 12″ exact lengths on a sled so the finished table apron joins flush.
If you want accurate miters, here’s why you should tilt the blade precisely: a wrong angle gives gaps at joints. Do this:
- Set the blade angle with a digital protractor to within 0.5° of the desired angle.
- Make a test cut on scrap, clamp the pieces, and check the joint with a small square.
- Adjust and re-test until the gap is under 0.5 mm for fine trim work.
Real-world example: cutting 45° corners for a shadow box frame — test on a scrap strip first.
Before you tilt for bevels, understand why bevel accuracy matters: bevels change how parts sit and how glue lines meet. Follow these steps:
- Loosen the tilt mechanism and set the angle using a digital angle gauge against the blade body.
- Tighten the tilt, then make a shallow test pass to verify the angle on scrap.
- For repeat bevels, mark the fence and use a sacrificial fence block to protect the saw and workpiece.
Real-world example: beveling table legs at 5° for a tapered look — confirm with a marking gauge after the first pass.
Panel joinery needs careful handling because sheet goods can tear out or sag without support. Do this:
- Use a wide sled or outfeed support to carry the panel across the cut.
- Choose a 100-tooth or plywood-specific blade and set zero-clearance insert if possible.
- Secure the panel with clamps or hold-downs and feed slowly to avoid blowout.
Real-world example: cutting a 4×8 sheet of plywood into cabinet panels — use an auxiliary table and roller stands for support.
Safety and consistency matter because steady feeds and proper fences reduce mistakes and accidents. Follow these steps:
- Always use a push stick when your fingers are within 6″ of the blade.
- Wear eye and hearing protection and disconnect power before changing blades.
- Keep the fence aligned: check fence parallelism to the blade every month with a 24″ straightedge; shim if greater than 0.005″.
Real-world example: swapping from a rip blade to a crosscut blade for a client order — use a blade-changing wrench, re-check arbor nut torque, and run a scrap test cut before you start production.
Keep your blades sharp and your setups repeatable, and the table saw will handle diverse tasks reliably.
Recommended Products
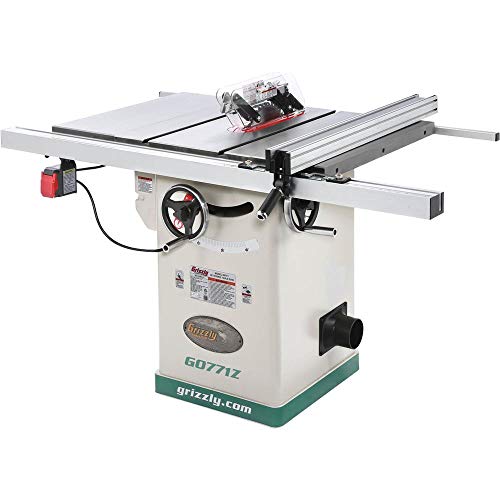
Includes full manufacturer warranty
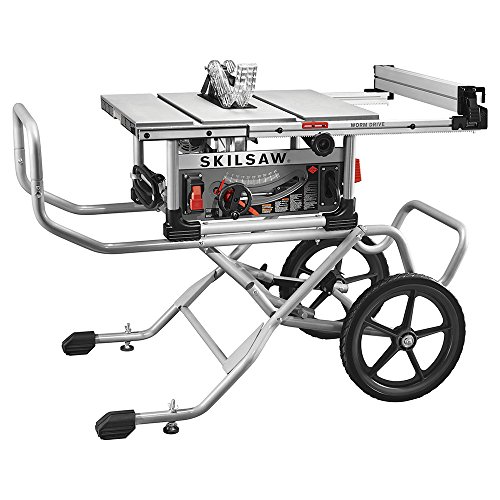
Legendary worm drive gearing with 3-5/8 inch depth of cut and 30-1/2 inch rip capacity
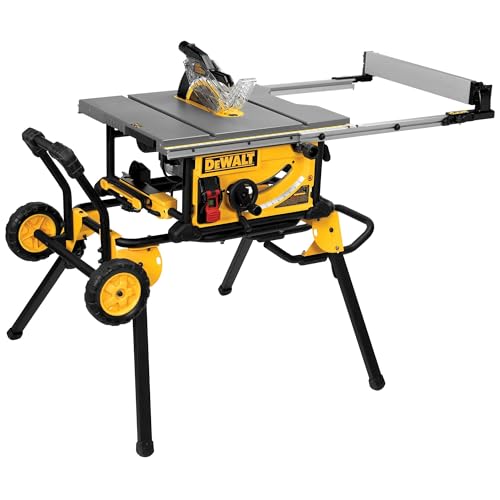
Rack & Pinion Telescoping Fence System Make fence adjustments fast, smooth and accurate
Production Speed and Repeatability With a Table Saw
If you’ve ever tried to cut a dozen identical boards by eye, this is why.
Why it matters: repeatable cuts save time and reduce waste, so you finish more parts that actually fit.
1) How do you set the fence for repeatability?
- Step 1: Measure once to a reference and lock the fence. Use a reliable reference like the blade face or a marked point on your table.
- Step 2: Cut one sample board and verify the dimension with calipers or a tape measure held flat to the edge.
- Step 3: If the sample is correct, run the rest without re-measuring each piece.
Real-world example: I set the fence to 8.25″ using a metal ruler, cut one test, checked it with digital calipers, then cut 50 identical rails in one session.
Tip: clamp a scrap to the fence as a zero stop for repeated lengths. It saves time when you need dozens.
2) How do jigs speed up indexing parts?
Why it matters: a jig fixes the part so you don’t reposition and re-measure every time.
Steps to build and use a simple jig:
- Cut a baseboard exactly the size you want the part to sit on.
- Attach a fence square to that base with screws and glue.
- Add a toggle clamp to press the workpiece against the fence.
Example: for cutting ten identical tenons, I screw a 12″ x 4″ base, mount a 3″ fence, and use a single toggle clamp; each tenon takes about 12 seconds.
3) How do you batch-process panels for speed?
Why it matters: gang-cutting reduces setups and evens out wear so parts match.
Steps for gang-cutting:
- Stack panels with slip sheets (thin cardboard) between them.
- Clamp the stack together and run the cut at the lowest safe feed rate you can control.
- Use push blocks on the trailing piece to keep steady pressure.
Example: I stack six 3/4″ plywood sheets with kraft paper between them, clamp, and rip them at 60–80 IPM; the stack yields near-identical widths.
4) How do you prevent drift during a long run?
Why it matters: catching drift early keeps an entire batch from becoming scrap.
Steps to monitor and correct drift:
- Every 10–20 pieces, pull one sample and measure critical dimensions.
- If it’s off more than 0.5 mm (0.020″), stop and re-check fence lock and blade alignment.
- Tighten any loose hardware and re-test with another sample.
Example: on a run of 200 shelves, checking every 15 pieces caught a blade-tilt issue at piece 60, saving the remaining batch.
5) How do push blocks and consistent pressure help?
Why it matters: steady pressure gives consistent feed and lowers variation from hand placement.
How to use them:
- Choose a push block with a wide rubber face and a pivoting pad.
- Keep firm, even pressure against the fence and down onto the table.
Example: using push blocks for narrow strips reduced my width variance from ±0.04″ to ±0.01″.
6) How should you sequence cuts to cut down setups?
Why it matters: grouping similar cuts reduces time lost to fence and blade changes.
Steps for sequencing:
- List every cut and group by fence setting and blade height.
- Do all cuts that share a setting in one block before changing anything.
Example: for a cabinet job I grouped all 1/2″ dadoes, then all 3/4″ rabbets, then the rip cuts; it cut setup time by roughly 40%.
Final practical note: lock your fence, clamp or index with a jig, check a sample every 10–20 pieces, and use push blocks on gang cuts. These actions keep throughput high and scrap low.
Recommended Products

ASMS-DEL-M - You will receive the AutoScale Miter Sled Deluxe Metric set which includes (1) Metric Left Side Sled, (1) Metric Right Side Sled, (1) Metric Drop Zone, (2) Hold Down Clamps, (2) Flip Stops

Can easily be carried to a jobsite, due to its compact size and light weight.

POWERFUL 15A MOTOR & PRECISION 10"" TCT BLADE FOR MULTIPLE SAWING TASKS: The 15A motor paired with a 10"" TCT blade delivers powerful cutting performance, making it ideal for crosscuts, rip cuts, and miter cuts in various materials like wood and plywood.
Precision Features That Keep Cuts Consistent and Square
Before you make production cuts, you need to know why each setup check matters: if your blade or fence is off by fractions, parts won’t fit and you’ll waste material.
1) How do you check blade perpendicularity?
Why it matters: a tilted blade puts a bevel on every edge.
Steps:
- Unplug the saw and remove the throat plate.
- Use a reliable combination square or a digital 90° square; press the square against the table and rotate the blade slowly by hand.
- Measure at three points around the blade with a feeler or gap gauge; if you see more than 0.003″ variation, adjust the trunnion or blade mount.
Example: I once had a cabinet stile that missed the door jamb by 1/16″ because the blade leaned 0.010″; correcting to under 0.003″ fixed every stile.
2) How do you verify fence alignment?
Why it matters: a misaligned fence makes stock feed at an angle and causes pinching.
Steps:
- Lock the blade at a mid-height and install a long straightedge against the blade.
- Slide your fence to touch the straightedge at the front and rear; use a 0.005″ feeler to check for gaps.
- If the fence isn’t parallel along its full length, loosen its bolts, align, then tighten while rechecking.
Example: On a 8′ benchtop job, a fence skew of 1/32″ across 48″ produced bowed trim; fixing to within 0.005″ made the trim sit flat.
3) When should you lock blade height and angle?
Why it matters: vibration or bumps change settings during a run.
Steps:
- Raise the blade to your cut height plus 1/8″ clearance, set the angle, then engage the mechanical locks or wedge clamps.
- Wiggle the adjustment handles; if you can move them more than 0.002″, tighten or shim the locks.
Example: During a production run of 200 pieces, a loose angle stop shifted 0.5°, making pins not fit; locking prevented further rejects.
4) How do you check table and insert flatness?
Why it matters: high or low spots move parts and ruin repeatability.
Steps:
- Lay a 48″ precision straightedge across the table and over the insert gap.
- Slide a 0.002–0.005″ feeler under the straightedge at multiple points; note any gaps.
- Replace or plane the insert until the gap is under 0.005″.
Example: A warped insert on my jointer flipped thin stock; swapping to a milled aluminum insert solved it.
5) What tools should you use for final verification?
Why it matters: cheap tools hide errors.
Steps:
- Use a quality combination or digital square for perpendicular checks.
- Use dial indicators (0.001″ resolution preferred) to read blade runout and fence parallelism.
- Keep a 6″ and a 48″ straightedge, and a set of feeler gauges (0.001″–0.010″).
Example: On a commercial run I avoided rework by catching a 0.004″ fence drift with a dial indicator.
6) How do you confirm everything before cutting parts?
Why it matters: a single scrap test saves dozens of ruined pieces.
Steps:
- Make one test cut on scrap sized like your workpiece.
- Measure the cut with your square and calipers; check opposite edges for squareness within 0.005″.
- If the test passes, run a short batch and recheck every 25 pieces.
Example: I caught a blade climb issue on the tenth piece by retesting and saved a full cabinet set.
Final tip: keep a checklist posted with these tolerances—blade runout under 0.003″, fence parallelism within 0.005″, insert gap under 0.005″—and sign off each step before you cut.
Recommended Products

INCLUDED: 2x Stock Guides Assemblies, 1x 30" Track, 8x #10 Self Tapping Screws, 4x 1/4-20 x 1/2" Low Head Cap Screws, 4x 1/4-20 Square Nuts, 1x T-25 Torx Screwdriver, 1x1/8" Hex Key, 1x #19 Drill Bit

【Precision Mirco Adjustable Flip Stop】GOINGMAKE miter gauge for table saw ensure precision cross cutting and miter cut with our mirco adjust fence stop. The micro adjustable flip stop is easy to use and the accuracy is up to 0.001 inch(0.0254mm). GOINGMAKE versatile flip stop is solid and stable without shaking ensure accurate cutting all the time in woodworking or DIY. We also support square face and angle faces workpieces with locating pin. And you can easily read the scales with our magnifying glass.

SPECS - You will receive a fully-equipped Taper Sled including 2 18.5" miter bars, rigid powder-coated steel fence that won't deflect, 2 knuckle hold-down clamps, 32" honeycomb plywood sled, and Rack-It. Fits any 3/4" x 3/8" table saw miter slot.
When to Choose Alternatives to the Table Saw
If you’ve ever started a cut and felt nervous about where the blade might go, this is why you should consider a different tool.
Why it matters: choosing the wrong tool can cost time, waste material, and put you at real risk. For example, when I needed a straight 8-foot rip from a sheet of plywood in a client’s garage with no room for a table saw, hauling a saw in and wrestling the sheet would have taken an hour and risked a kickback.
1) When to use a track (portable) saw
Why it matters: a track saw keeps the blade guided so your long cuts are straight and safer.
Steps:
- Measure and mark the 8-foot cut on the plywood.
- Clamp the track to the cut line and align the saw shoe.
- Make the cut in a single pass, keeping steady pressure.
Real-world example: on that garage job I cut the 8-foot panel in about two minutes and carried only the saw and track, not a heavy table saw.
Tip: use a splinter guard on the track for cleaner edges.
2) When to use a jobsite bandsaw
Why it matters: a bandsaw wastes less wood and lets you cut curves and resaw thick boards safely.
Steps:
- Set the blade guide 1/8″ above the workpiece.
- Mark your resaw line or curve, and feed the wood slowly.
- Use a push stick for narrow sections.
Real-world example: I resawed a 2″ walnut board into two 1″ slabs with only a 1/8″ kerf loss, instead of losing 3/8″ on a table saw blade.
3) When to avoid the table saw for narrow or delicate cuts
Why it matters: pushing very narrow pieces or making intricate joinery at a table saw increases kickback risk and reduces control.
Steps:
- For narrow rips under 2″ or delicate tenons, switch to a handsaw, jig on a bandsaw, or a router with a guide.
- Secure the work with clamps or a vise before cutting.
Real-world example: I cut a 1″ wide tenon shoulder with a router and guide, which left a clean edge and avoided standing over a spinning blade.
Tip: when you must use a table saw, use a sled and zero-clearance insert.
Match the tool to the cut: for long straight rips on site use a track saw; for resawing and curves use a bandsaw; for narrow, delicate, or irregular shapes pick a handsaw, router, or jig.
Recommended Products

FREIGHT DELIVERY: This item ships via LTL freight. A valid phone number is required to schedule delivery

Fully captures 7-inch - 8-inch circular saws 5-inch Boom allows cuts down to 2/12 pitch on 8-inch Double Lap siding
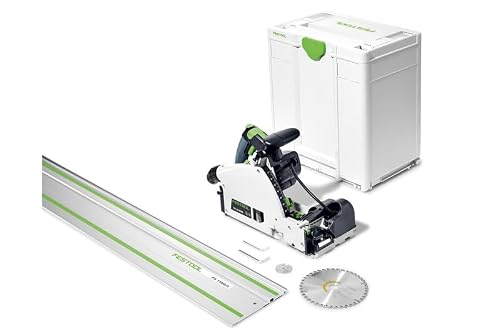
Splinter-free in a single cut. The perfect cut in a portable format. The TSV 60 K has a built-in scoring blade that can be adjusted with precision. Perfect cuts are practically guaranteed with zero-tearout—on both sides. With the TSV 60 K, the first cut is the final cut!
Frequently Asked Questions
How Often Should I Replace My Table Saw Blade?
I replace my table saw blade every 6–12 months with regular use, sooner if cuts burn or tear; consistent blade maintenance improves performance and noise reduction, and I inspect for dullness, chips, or wobble after heavy jobs.
Can I Install a Dado Stack on Any Table Saw?
Yes — but I’ll check motor compatibility and arbor length first: many saws need adequate horsepower and a longer arbor or adapter for a dado stack, and some manufacturers expressly prohibit dado use for safety.
What Dust Collection Setup Is Ideal for a Table Saw?
You’ll want a strong shop vac or dust collector with a dedicated hood at the blade, mobile hoods for miter and outfeed, plus whole-shop air filtration, and I’ll insist on blast gates and sealed ducting for max capture.
How Do I Transport a Cabinet Table Saw Safely?
I’d secure the cabinet saw by using proper strapping around its body, locking the arbor/blade, removing loose parts, and tipping onto a sturdy wheel dolly; I’d brace it to the dolly and move slowly, two people guiding.
Which Table Saw Accessories Improve Cut Quality Most?
Which accessory matters most to you? I’d pick a zero clearance insert, feather board, fence guide, and reliable push stick/anti kickback device—those four together tighten cuts, reduce tearout, and keep feed consistent and safer.