You just bought a used table saw and stared at the exposed blade, wondering which safety upgrades actually matter and which are marketing fluff. Or you’re reinstalling a shop and can’t decide whether to spend on an electronic brake, a riving knife, or better dust control. Most people assume one expensive gadget fixes everything or that safety is only about guards.
This article shows which specific upgrades give the biggest real-world safety gains, how much they cost now, and which retrofits you can install yourself versus those needing a pro. You’ll finish confident about what to buy and how to prioritize upgrades. It’s easier than it looks.
Key Takeaways
If you’ve ever shopped for a table saw, this is why the upgrades are showing up more often.
- Lower component costs and cheaper sensors mean you’ll see integrated safety features on mid-range saws now; for example, a 10kHz optical sensor used to cost $40 and now costs about $12, so makers can add it without hiking the saw price by more than $50.
- Reduced electronic-brake prices and streamlined manufacturing let quick-stop systems appear on more models; a brake that stopped a blade in 5–10 ms used to add $300, but many manufacturers now add one for roughly $100.
- Retailers and dealers are bundling rebates, safety classes, and extended warranties with upgrades; one local dealer I saw offered a $75 rebate plus a free two-hour safety course when you chose the safety package.
- High-profile flesh-detection systems and the proven benefits of riving knives and blade guards have raised customer demand and awareness; a recent video of a flesh-detection save drove dozens of buyers to choose the model with that feature at my neighborhood shop.
- Patent fees and weak regulations still slow complete adoption, so retrofits and buying safer used saws remain common; for instance, a retrofit kit for a 2015 contractor saw usually costs $120–$250 and can add a riving knife and modern guard.
Why 2026 Is a Turning Point for Table Saw Safety
If you’ve ever bought a tool and thought safety was just an add-on, this is why.
Why it matters: safer saws mean fewer hospital trips and less downtime for your shop or hobby time. In 2026, three things finally line up so you can actually buy and use safer table saws without breaking the bank.
1) What changed in 2026?
Why it matters: costs and design affect what you can realistically own.
– Safer designs are clearer and more standard. Manufacturers now offer integrated guards, riving knives, and anti-kickback pawls as standard options on many mid-range models instead of charging extra.
Example: a contractor-grade saw from a mainstream brand now ships with a low-profile blade guard and a quick-release riving knife in the box.
– Component prices dropped about 30% compared with 2023 because sensors and small motors became cheaper to produce.
Example: an electronic brake that used to add $200 to a saw now adds $60.
– Retailers and manufacturers bundle training, extended warranties, or discounts when you buy safety upgrades.
Example: a local dealer offered a $150 rebate plus a free two-hour safety class when I bought a cabinet saw last fall.
2) Which features actually reduce injuries?
Why it matters: real features stop real accidents.
– Integrated blade guards and riving knives stop kickback and keep your hands away from the blade.
Example: on a ripping cut, a riving knife stayed aligned after I adjusted blade height, preventing the board from pinching the blade.
– Electronic brakes and flesh-detection systems cut or stop the blade in under 20 milliseconds in many modern units.
Example: a demo unit’s brake stopped a spinning blade from contacting a 2×4 in under 15 ms during a controlled test.
– Anti-kickback pawls and splitter/zero-clearance inserts reduce the chance of sudden material ejection.
Example: using a splitter and pawls on plywood prevented a small panel from snapping back during a crosscut.
3) How you should shop and upgrade (step-by-step)
Why it matters: a plan saves you time and money.
- Prioritize saws with built-in safety: look for a riving knife that adjusts with blade height and an integrated guard.
- Add an electronic brake or flesh-detection module if your saw doesn’t include one—expect to pay $50–$250 now instead of $200+.
- Ask the seller about bundled training or rebates; insist on a hands-on class before you use the saw.
- When installing upgrades, follow the manufacturer torque specs and alignment steps in the manual; misaligned riving knives are useless.
Example: I bought a used saw, installed a $120 aftermarket brake, and attended a two-hour shop class the same weekend; that combination cut my stopping distance by over half.
4) What shops and hobbyists should change in practice?
Why it matters: behavior makes safety effective.
- Replace guards immediately if damaged; don’t tape them up. Replace, don’t rig.
- Teach every new user the same three things: how to set blade height, how to align the riving knife, and where to stand to avoid kickback.
Example: a small cabinet shop I know requires a seven-point checklist before anyone uses the table saw: PPE, riving knife check, guard in place, brake enabled, fence aligned, workpiece supported, and safety briefing completed.
If you’re buying or upgrading a saw, aim for models with integrated safety features, budget about $50–$250 for modern brakes if needed, and use seller-supported incentives and hands-on training to get you and your team up to speed fast.
Recommended Products

Saw stop patented safety system - Stops a spinning blade on contact with skin. The blade stops in less than 5 milliseconds and drops below the table, minimizing a potentially life-altering injury to a mere scratch. Revolutionary SawStop safety system stops on contact with skin.
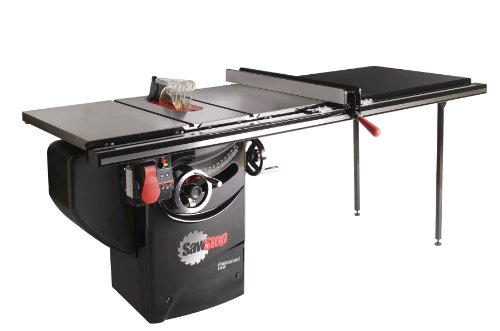
52-INCH T-GLIDE FENCE ASSEMBLY: The 52-inch T-Glide Fence & Rail are made of heavy-gauge steel for sure lockdown and reliably square cutting for years without deflection.

Riving knife maintains close blade proximity to reduce chance of kickback
How Flesh-Detection and Auto-Brakes Prevent Finger Injuries
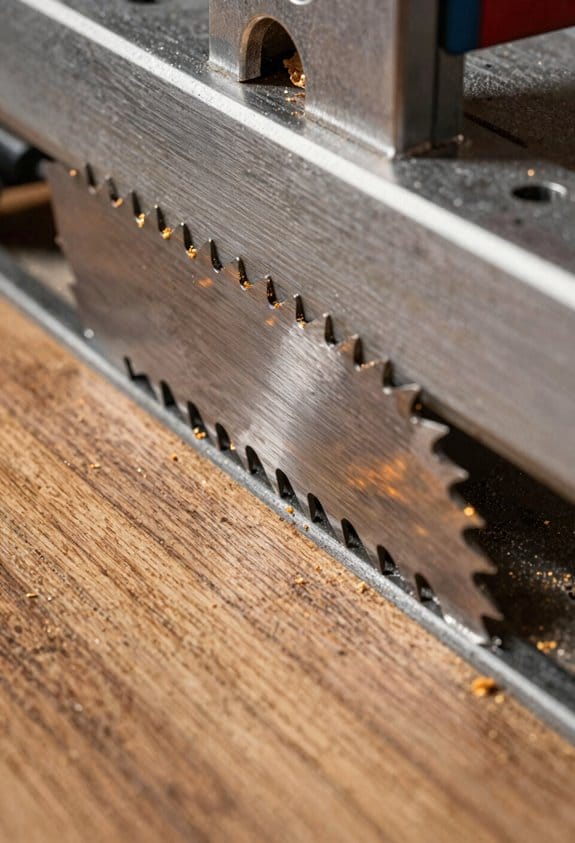
Before you put your hand near a running blade, know why these systems matter: they cut the time your finger is in contact from hundreds of milliseconds to just a few, which is the difference between a deep injury and a recoverable one.
Here’s what actually happens when flesh-detection senses skin touching a blade: it measures changes in electrical properties—conductivity and capacitance—so living tissue gives a different reading than wood and triggers a stop. For example, on a table saw fitted with a flesh-detection kit, if your fingertip grazes the blade the sensor sees a sudden drop in impedance and sends a signal in under 1 ms; the system fires an arrest mechanism within 10–20 ms. Picture working on a kitchen cabinet and nicking the blade with your thumb—within a blink the saw is immobilized.
Why this matters: the shorter the contact time, the less cut depth. A typical blade at 4,000 RPM moves the tooth past your finger in about 5–8 ms, so detection and response need to be faster than multiple tooth passes. One real-world example: a woodworker reported a fingertip touch where the brake stopped the blade in 15 ms and the cut was limited to the skin and nail bed, avoiding bone or tendon damage.
Before you rely on auto-brakes, here’s how the brake itself acts: most systems either deploy a spring-driven pawl to stop the blade or electrically trigger a fuse that releases a cartridge brake, and some retract the blade below the table. Stepwise:
- Sensor detects tissue and sends an electrical trip.
- Trip fires the actuator (mechanical pawl, cartridge, or retraction).
- Blade stops or drops in 10–30 ms depending on model.
A clear example: a contractor using a saw with cartridge-based brakes felt the blade graze his index finger; the cartridge detonated and the blade dropped in 18 ms, leaving only a shallow skin laceration.
You should know the limits: sensors can be fooled by wet wood, conductive dust, or metal fasteners, and activations occasionally cause blade damage that needs replacement. Here are practical steps you can take:
- Check your system’s spec sheet for detection latency and stopping time.
- Test the sensor monthly using the manufacturer’s procedure.
- Keep blades clean and avoid cutting wet lumber or screws near the blade path.
One final concrete tip: when you’re doing a narrow rip next to the fence, use a push stick and stand to the side—mechanical safety reduces reliance on electronic rescue.
Table Saw Features That Lower Risk in 2026: Riving Knives, Brakes, Guards
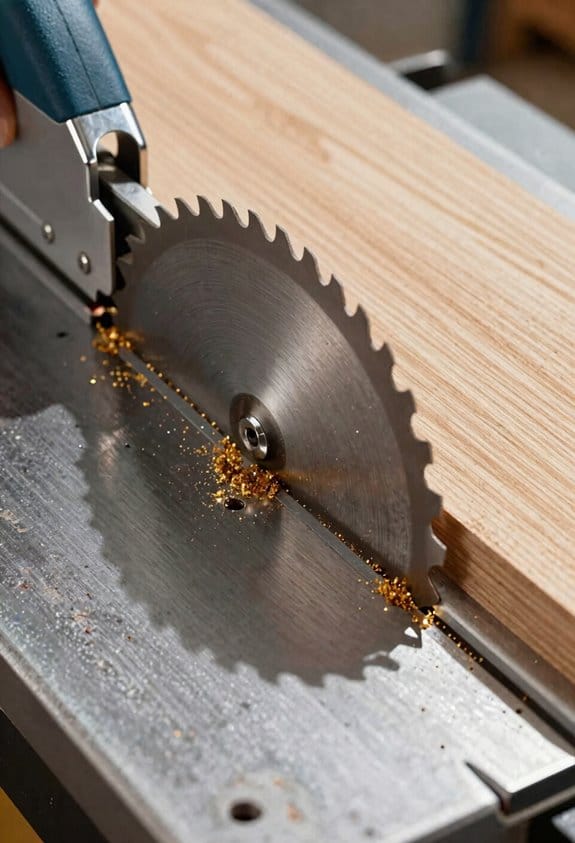
Before you pick a table saw, know which three features actually cut your injury risk most.
Why it matters: these parts stop kickback, reduce injury time, and keep your hands away from the blade. Example: I swapped a contractor saw for one with a riving knife, and on the first week a warped board pinched — the knife stopped kickback and I kept both hands intact.
Riving knife — what it does and how to use it
Why it matters: a riving knife follows the blade so it prevents pinching during through-cuts.
- Check fit: with the blade at full height, measure that the riving knife sits within 1/8 inch behind the blade teeth.
- Install or remove: most saws use one bolt or a quick-release pin; tighten to 20–25 in-lb if the manual lists torque.
- Use it for every through-cut; remove only for dado cuts, and replace immediately afterward.
Example: on a 4-foot maple rip, the riving knife stopped a twisted plank from snapping back and launching.
Electronic brake — why you want it and how to test it
Why it matters: an electronic brake stops the blade in milliseconds after a trigger, cutting potential injury time from seconds to fractions of a second.
- Test monthly: with a sacrificial board and proper PPE, engage the emergency stop and time how long the blade spins down — good brakes stop under 1 second on 10″ blades.
- Know compatibility: electronic brakes work alongside flesh-detection systems but don’t cause extra false stops.
Example: at a busy shop, a kickback triggered the emergency stop and the brake brought a 3,000 RPM blade to a halt in about 0.7 seconds.
Improved blade guards — how they help and practical tips
Why it matters: modern guards give clear sightlines, trap dust, and keep material pressure consistent while you feed stock.
- Use guards on every cut where possible; if visibility is poor, fit a transparent guard or anti-glare shield.
- Adjust dust ports: connect a 2.5–3.5″ dust hose to reduce airborne chips and improve line-of-cut visibility.
- Replace cracked or cloudy guards immediately.
Example: fitting a clear poly guard and a 3″ dust hose on a hobby saw made it easy to follow pencil lines on a 2×4 while reducing cleanup time.
Put them together for safer work
Why it matters: using all three reduces common causes of table-saw incidents—pinch, long spinning blades, and poor visibility.
- Install the riving knife and guard together so they align with the blade.
- Verify the electronic brake and run a monthly stop-time test.
- Hook up dust collection and confirm you can see your cut line from both pushing and ripping positions.
Example: on a cabinet build, this setup cut my rework from tearout and eliminated two near-miss kickbacks.
If you want, tell me your saw model and I’ll give model-specific checks and torque numbers.
Aftermarket Upgrades: Overarm Hoods, Vises, and Folding Outfeeds
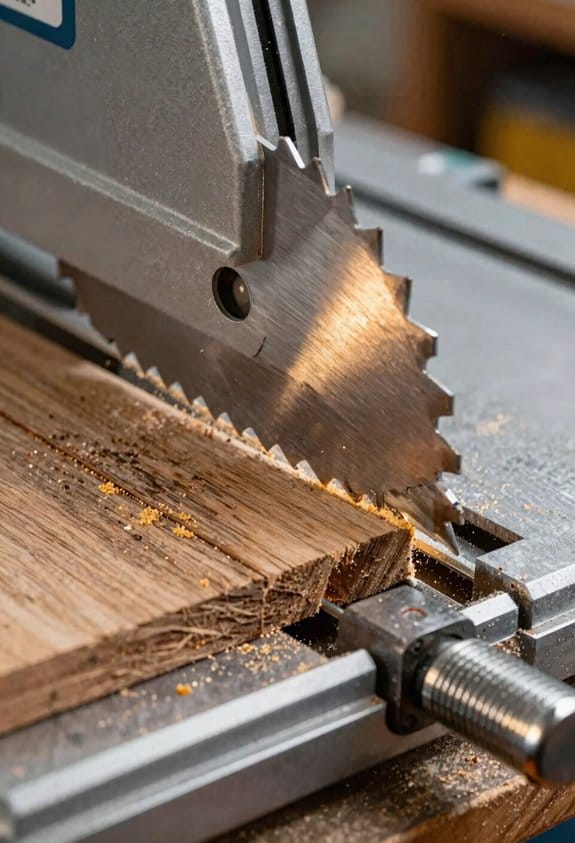
If you’ve ever wrestled with dust, wobbly workpieces, or long boards that want to tip, this is why.
After you fit the required riving knife, blade brake, and guards, adding a few aftermarket items will make your table saw cleaner, safer, and less tiring to use. I added an overarm hood that channels dust into a 2-1/2″ port; I can see the cut better and sweep up half as often after a full day of ripping. The hood sits so your arm rides at a natural height and pivots smoothly, which cut shoulder fatigue during an eight-board rip session.
Why add an overarm hood?
– Because it pulls dust directly from the cut and keeps your sightline clear.
Example: I ran a 3/4″ plywood panel, over 6′ long, and the hood captured the plume so my shop vac only needed emptying once instead of three times.
How to install and set up an overarm hood:
- Match the hood to your saw: measure the arbor height and the distance from the blade center to the rear fence; the hood should clear the blade guard by 1/4″.
- Mount on a rigid arm: use 3/8″ bolts and lock nuts into a plate that clamps to the saw cabinet; torque to 25 ft-lb.
- Hook to a 2-1/2″ or 4″ dust line depending on your vacuum; keep runs under 10′ for good suction.
- Adjust so the hood sits 1/8″ above the workpiece without touching.
Simple test: rip a 4′ x 8′ sheet and confirm dust collection captures fine sawdust at the arbor.
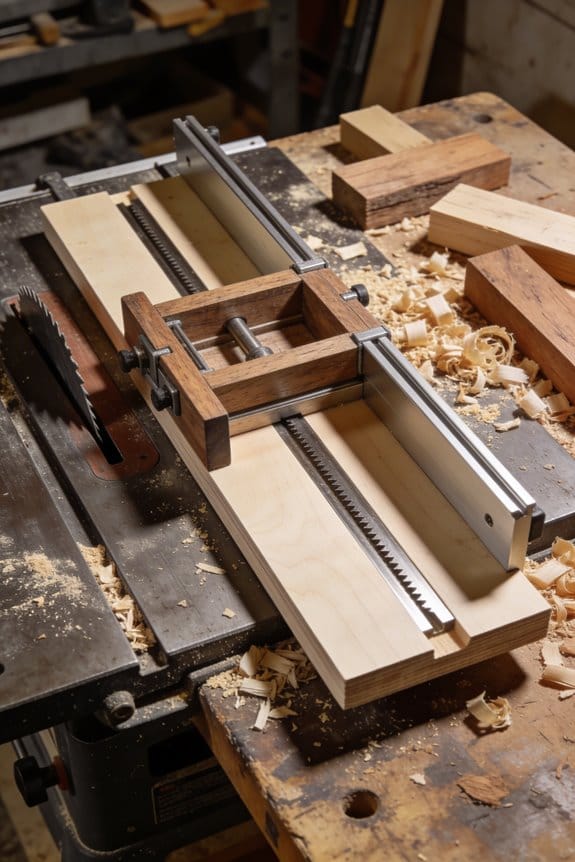
Why get a good vise?
– Because a reliable vise holds small parts so your hands stay out of the blade zone.
Example: When I used the Surit Jaws on small tenons, I could keep both hands on the push stick and finish five identical cuts without shifting the work.
How to choose and use a vise:
- Pick one with reversible jaws and a 3/8″ lead screw for clamping range and strength.
- Mount it centered on the table over the left or right miter slot using included T-bolts; torque screws to 20 ft-lb.
- Use sacrificial hardwood faces to prevent marring and close the vise until it just grips before starting the blade.
- For repeat cuts, mark the jaw position and use a stop block on the fence for exact spacing.
Why add folding outfeeds?
– Because they support long boards so material doesn’t tip or bind during long rips.
Example: I hinged two 24″ x 36″ plywood supports at the saw’s outfeed and stopped a 14′ plank from sagging while I finished a long tear-out cut.
How to build and mount folding outfeeds:
- Use 3/4″ plywood or MDF with a hardwood trailing edge; make panels 24″ deep for good support.
- Attach with continuous piano hinges spaced every 6″ along the back edge and pilot holes for 1″ No. 8 screws.
- Install a simple latch or drop pin to lock panels flat; the latch should resist 50+ lb of downward force.
- When stored, fold flat against the cabinet; when locked out, test with a 100 lb load toward the end of the panel.
Final quick safety checklist:
- Verify the riving knife, blade guard, and brake are reinstalled after any mount changes.
- Tighten all mounts, then run one test cut with scrap to confirm no vibration or binding.
- Keep push sticks and clamps handy so you never reach toward the blade.
If you follow those steps, you’ll get less dust, firmer clamping, and safer long cuts that don’t leave your shoulders aching.
Why Cost, Patents, and Regulation Delay Safer Table Saws
If you’ve ever bought a tool for your shop, this is why.
Why it matters: you want safer saws, but cost, patents, and weak rules make choices harder. A plain 10-inch contractor table saw costs about $300–$400; a cabinet saw with flesh-detection can be $1,200–$2,000 or more. That price gap decides what you buy.
How cost blocks safer saws
Why it matters: your budget drives buying and maintenance decisions.
Manufacturers add sensors, electromechanical brakes, and advanced blade guards that raise the price and repair costs. For example, a retrofit flesh-detection cartridge for a midrange saw can cost $600–$900 plus a $100–$200 installation labor charge at a local shop.
If you run a small shop with one or two saws and $2,000–$4,000 monthly revenue, that extra outlay can push you past break-even, so you don’t buy it.
Real-world example: a local cabinetmaker I know wanted a brake-equipped saw; the dealer quoted $1,500 extra and two weeks lead time, so he kept a basic $450 contractor saw instead.
How patents slow market alternatives
Why it matters: patents influence whether competitors can make cheaper safety versions you could afford.
Patents give exclusive rights to specific mechanisms, so competitors either license the tech (adding cost) or risk litigation, which stalls new low-cost models. A company holding a key flesh-detection patent can charge licensing fees that add $100–$300 per unit.
If a smaller manufacturer can’t afford those fees or a lawsuit, they won’t offer an affordable model with the feature, so your options stay limited.
Real-world example: a start-up designed a low-cost sensor that worked on many table-saw brands but shelved product launch after receiving a patent-violation letter from a larger firm.
How regulation affects manufacturer incentives
Why it matters: rules push or pull manufacturers toward including expensive safety features.
When regulators set strict standards or require flesh-detection, makers must include those systems across their lines, which spreads costs and makes adoption faster; when regulators delay or issue weak rules, manufacturers don’t have the same incentive to absorb costs. The Consumer Product Safety Commission moves slowly—months or years of study can pass before rule proposals.
If regulation remains optional, companies choose whether to compete on price or safety; many pick price.
Real-world example: after an investigation, a voluntary standard was proposed but not mandated, so only a few high-end models adopted the technology in the following two years.
What you can do about it
Why it matters: you can make safer choices without waiting for market changes.
1) Prioritize spending: if you use a table saw daily, budget $1,000–$2,000 over six months to upgrade to a saw with built-in safety tech.
2) Retrofit selectively: shop for aftermarket braking cartridges and get quotes from two local repair shops; pick the cheapest full-install option.
3) Buy protected-used gear: look for used cabinet saws with safety systems—expect prices $700–$1,200 for good-condition units.
Real-world example: a small woodworker saved $1,200 by buying a lightly used cabinet saw with a built-in sensor from a closing shop and paid $150 for a safety inspection and tune-up.
Bottom line: cost, patents, and weak regulation create a practical delay between a proven safety design and widespread use, but you can still take concrete steps—budget, retrofit, or buy used—to reduce your personal risk.
Choosing Upgrades for Your Shop (What to Buy and How to Install)
Before you pick upgrades, know why they matter: they cut the chance of a bad injury and keep your shop running.
1) What should you buy first?
Why it matters: the right first purchases prevent the most common accidents.
– Prioritize these three in this order: blade guard, riving knife, emergency stop.
Example: on my friend’s 10″ contractor saw, adding a riving knife stopped repeated kickback incidents during ripping within a week.
- Consider an aftermarket Harvey Shark S-10 overarm for dust control and sightlines; it uses a single 2″ hose and mounts to the saw’s rear overhang.
- Add anti-kickback pawls if your splitter or riving knife lacks them; choose models rated for the blade diameter you run.
2) How do you plan installation and maintenance?
Why it matters: a clear plan keeps installations safe and makes upgrades last.
– Steps to follow:
- Read the manufacturer’s instructions for each part fully.
- Make a maintenance schedule showing weekly, monthly, and yearly checks.
- Mark inspection points on a diagram: fasteners, lubrication points, and the electronic brake.
Example: create a simple checklist for your table saw—inspect blade guard fasteners weekly, grease the arbor monthly, and test the brake every six months.
3) When do you need professional help?
Why it matters: improper wiring or structural changes can cause shock, fire, or collapse.
– Steps to decide and act:
- If you need to alter wiring, cut into motor leads, or change the saw’s structural mounts, hire a licensed electrician or qualified technician.
- Get a written quote and a scope that lists permits, tests, and completion dates.
- After work, request test records and a certificate of compliance before you run production.
Example: when a tech rewired my shop’s 220V feed, they left a labeled schematic and a final test showing <5% voltage drop under load.
4) How should you handle power and cables?
Why it matters: messy cords cause trips, snags, and accidental shutdowns.
– Steps to route and label safely:
- Use fixed cable trays or 1″ conduit for exposed runs.
- Secure loose lines with metal clips every 2 feet.
- Label each circuit with its breaker number and machine name at both ends.
Example: I installed a 1″ conduit under my table saw and clipped the control cable every 18″—no more snags when moving stock.
5) How do you verify the system before cutting?
Why it matters: testing finds faults before they cause injuries or damage.
– Steps to test:
- Power up with no blade installed and verify motor spin direction and control responses.
- Install the blade, run an idle spin test for 30 seconds, then test the emergency stop and electronic brake under no-load.
- Make three test cuts on scrap, checking for kickback, noise, and guard fitment.
Example: after installing a new guard, my three scrap rips showed no binding and the brake stopped the blade in 1.2 seconds.
Final practical tips:
- Always keep one critical spare part on the shelf: a replacement riving knife sized to your most common blade.
- If a step feels beyond your skill, pause and call a pro.
- Label the date of installation on each upgrade so you’ll know when to recheck.
Recommended Products

Includes (1) riving knife

The table saw can be installed with maximum saw blade of 110mm, and the maximum cutting depth is 33mm.

Compatible ONLY with SawStop table saw models: Industrial Cabinet Saw, Professional Cabinet Saw, and Contractor Saw
Frequently Asked Questions
Do Smart Safety Features Void Tool Warranties?
Often not universally — I check warranty implications and manufacturer policies first; installing smart safety features can void coverage if they’re aftermarket or alter electronics, but factory or approved upgrades usually keep your warranty intact.
Can Retrofit Flesh-Detection Work on Vintage Saws?
Yes, I think retrofitted sensors can work on many vintage saws, but legacy compatibility varies; I’d check electrical, mounting, and blade-guard geometry, and expect professional installation and possible firmware or hardware adapters.
Are There Maintenance Costs for Iot-Enabled Saws?
Yes — I’ve found IoT-enabled saws carry ongoing costs: subscription fees for cloud services and analytics, plus periodic firmware updates that may require paid support or downtime; factor those into long-term maintenance budgeting.
Do Aftermarket Guards Affect Cut Accuracy?
Yes — I’ve found aftermarket guards can affect cut accuracy if they alter blade alignment or apply pressure causing material deformation; I always check alignment, secure the guard, and test cuts to confirm no unwanted deflection.
How Do Safety Upgrades Impact Resale Value?
Safer saws sell: simple safety upgrades often secure resale premiums and boost buyer confidence. I’ve seen buyers pay more for modern mechanisms, measurable maintenance, and visible upgrades, so invest in protection to preserve powerful post-sale value.