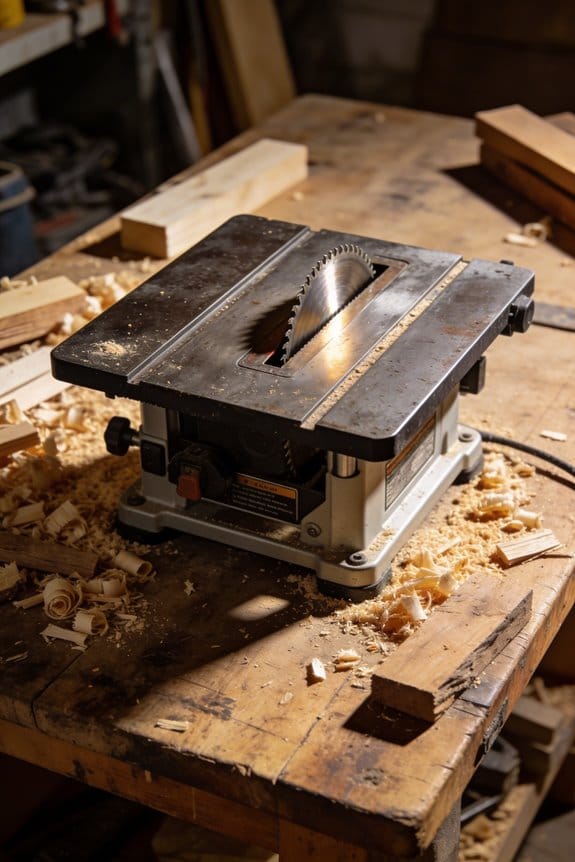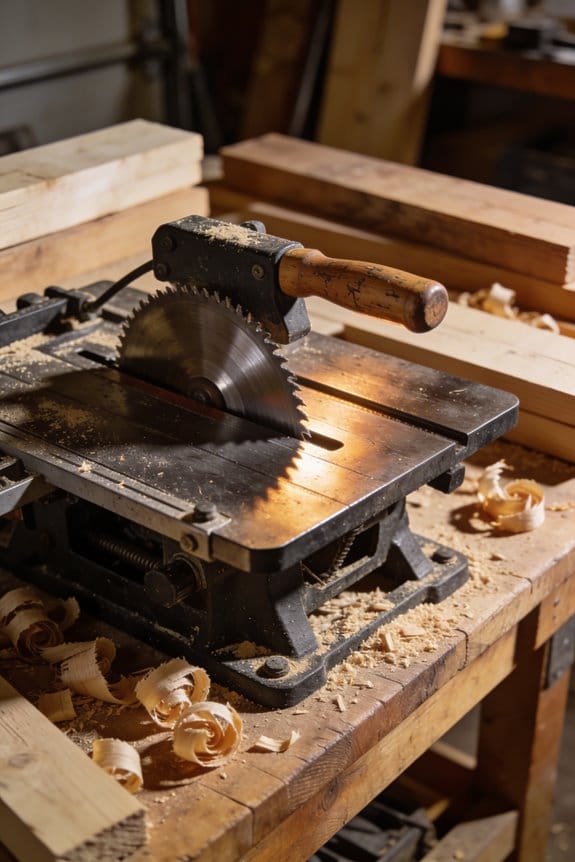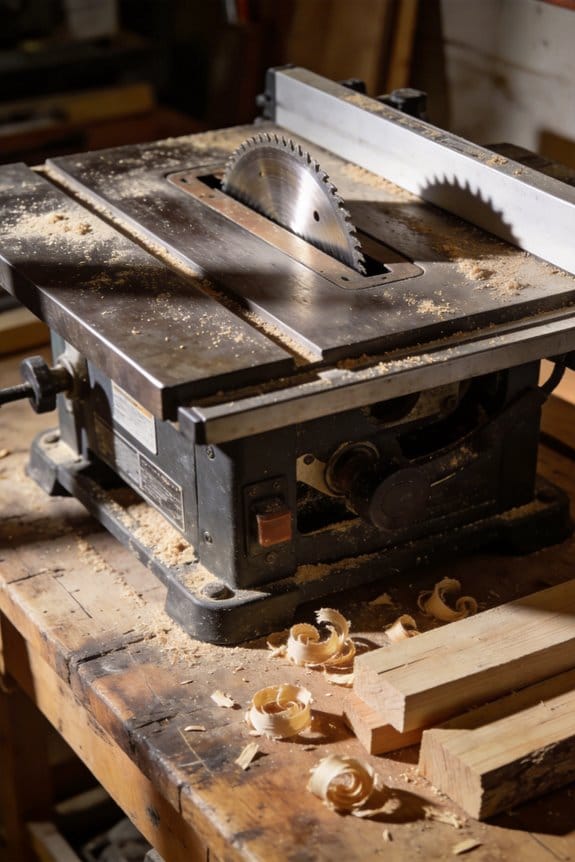

You stand over your table saw, blade spinning, and wonder why a cloud of fine dust keeps billowing out no matter how close you hold a shop vac to the underside.
The exact problem is this: the dust still escapes because the fan, ports, and shroud aren’t capturing the fast cone of particles the blade throws from the kerf. Most people blame filters or buy bigger collectors, misunderstanding that placement, seals, and airflow pattern matter more than sheer horsepower.
This article will show you how to position and seal a shroud, size and place intake ports, and pick the right collector style so you dramatically cut airborne dust at the source.
Follow these steps and your cleanup time and filter clogging will drop noticeably. It’s easier than it looks.
Key Takeaways
If you’ve ever stood at a table saw and still found dust everywhere, this is why.
Why it matters: breathing fine dust can harm your lungs and ruin finishes quickly.
– Fine, fast-moving kerf dust escapes the blade zone before distant bottom ports can capture it. Example: when you rip a 3/4″ oak board at 4,000 RPM, the kerf cone shoots 10–15 feet per second and misses ports placed more than 6 inches from the blade. Fix: move intake ports within 3–6 inches of the blade and angle them toward the kerf.
Why it matters: clogged collectors stop working when you need them most.
– Small single-stage collectors clog and lose suction quickly from sub-10µm particles. Example: a 1.5 HP shop vac on plywood dust will drop suction in 5–10 minutes because filters load with 5µm dust. Fix: add a cyclone pre-separator and use a pleated filter rated 1–3µm to keep suction consistent.
Why it matters: leaks destroy any vacuum effort you make.
– Poor seals, warped throat plates, and oversized gaps let dust bypass hoods and enter cabinets. Example: a 1/8″ warped throat plate around a 24″ blade creates a 1–2 CFM leak that lets the kerf cloud pass under the fence. Fix: shim or replace the throat plate until gaps are under 0.020″, and use foam gaskets on cabinet joints.
Why it matters: your shop airflow decides where the dust goes, not the hood.
– Cross-drafts and shop airflow carry the kerf cone away from intakes and hoods. Example: a 3-inch garage door crack or a running fan can create a 50–200 FPM cross-draft that moves the kerf plume laterally. Fix: close doors, turn off fans while cutting, and position a 12″ intake fan behind the blade to shape airflow.
Why it matters: wrong ports and hoses waste suction and lower capture rate.
– Inadequate port placement, hose sizing, and lack of cyclone pre-separator reduce capture efficiency. Example: a 2-1/2″ hose on a 3HP collector throttles airflow and drops capture by 40% compared with a 4″ hose and direct port placement. Fix: use 4″ hose for main runs under 10 feet, keep elbows to a minimum, and place the hood within 3–6 inches of the cut.
Why Table Saw Dust Remains a Problem for Most Shops
Here’s what actually happens when dust leaves your blade and spreads through your shop.
Because dust moves fast and hides in weird places, table saw dust stays a problem for most shops. You need to control it because those fine particles make you sick and gunk up motors and filters. I once watched a friend open a cabinet and find half a pound of fine sawdust layered under his bench after a week of cutting 3/4″ plywood; that dust had tracked through the dust port and settled everywhere. Use a shop vac with 2.5″ hose and a cyclone pre-separator to cut filter clogs and extend run time.
Why did dust control evolve slowly? Tools were designed to cut first and capture second, so capture features arrived slowly and patchwork solutions became normal. You should expect older saws to have poor seals, tiny dust ports, and no shrouds; those let dust escape into motor housings and under tables. I saw a 20-year-old contractor saw where the motor fan had dust packed against the windings—repair cost $300 and three days of downtime. Improve seals by replacing worn gaskets and sealing gaps with silicone caulk around the motor housing and tabletop insert.
Before you test your setup, you need to know what to measure and why. Measuring capture efficiency tells you how much dust your system actually removes versus how much becomes airborne. A simple test you can run uses these steps:
- Weigh a 1 lb stack of identical rip strips before cutting. Record the weight to 0.1 oz.
- Make 20 identical rip cuts at the same blade height and feed speed, collecting dust only into your dust collector.
- Weigh the remaining wood and the dust you captured. Calculate captured mass: starting mass minus remaining wood mass.
- Repeat the test three times and average the captured mass to get your capture percentage.
I used this method on my saw and found capture improved from 45% to 78% after adding a 4″ dust port adapter and sealing gaps.
Why regulatory gaps matter: there often aren’t clear exposure limits or mandated controls for many small shops, so you must set your own standards to protect your crew. You should target keeping visible dust out of the breathing zone and aim for less than 2 mg/m3 for respirable wood dust during active cutting as a conservative goal. A local cabinet shop I know bought inexpensive handheld dust meters and keeps spot readings under 2 mg/m3 during production runs; when readings rose they added a portable air cleaner with HEPA and cut levels by half.
What practical steps you can take right now:
- Upgrade collection: use a 2.5–4″ diameter dust port that matches your collector hose size and a cyclone pre-separator to keep filters clean.
- Improve seals: replace tabletop inserts and gaskets, and caulk gaps around the motor housing and under the table.
- Test capture: run the weighing test above after any change.
- Use PPE: wear an N95 or P100 respirator during cutting and have spare cartridges on hand.
- Maintain: clean filters weekly if you run several hours a day, and inspect motor housings monthly.
A cabinet shop I visited cut filter change time from 15 minutes to 5 minutes after switching to a quick-release clamp and a clear collection bucket.
If you do these steps, you’ll reduce airborne dust, lower maintenance costs, and protect health. Start with sealing gaps and matching hose sizes; then test and iterate with the weighing method until your capture percentage is acceptable.
How Blade Cuts Create Dust : and Why Bottom Exhaust Often Misses It
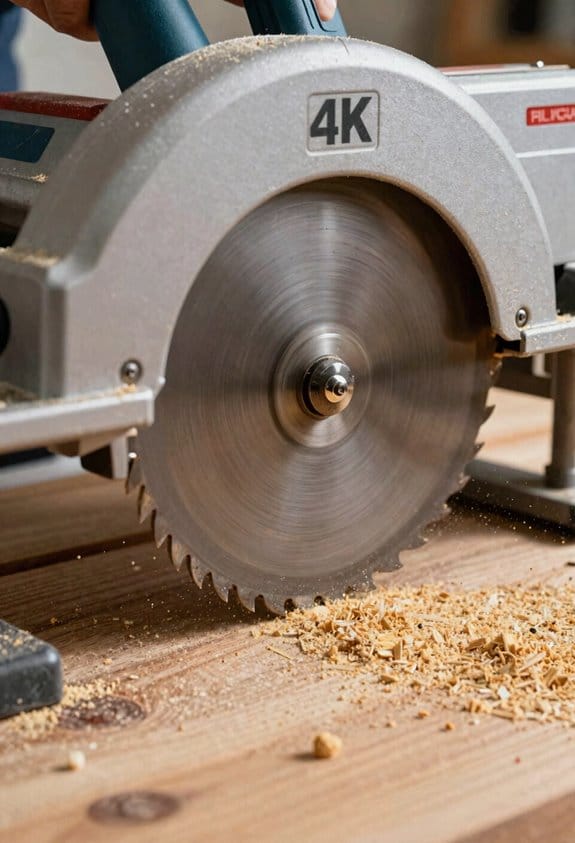
If you’ve ever stood at a table saw and watched the dust fly, this is why. It matters because that escaping dust is what makes cleanup hard and breathing unsafe.
When your spinning blade severs wood it throws chips and fine particles outward at high speed, and the critical moment is the blade exit where material is ejected from the kerf in a spray that goes both up and down. That sudden release creates kerf turbulence — swirling air in the gap that carries fine dust away from under-table ports. Example: cut a 3/4″ plywood sheet with a 10″ blade at 4,000 RPM and you’ll see a visible halo of fine powder radiating a few inches from the kerf in under a second.
Before explaining how to fix it, here’s why you lose dust to bottom exhaust in one sentence: the suction is usually too far from the chaotic zone to catch particles before they disperse. A common shop example is a typical cabinet saw with a 4″ port centered under the blade; the port mouth sits 3–4″ from the kerf and misses most sub-100-micron dust.
How to improve capture (do these steps in order):
- Move the intake closer: position the port 1″–1.5″ from the blade centerline or use a throat plate with a recessed shroud that hugs the kerf. Try a 3″ wide slot within 1.25″ of the blade for tabletop tests.
- Control cross‑air: stop drafts by closing doors, covering bench fans, and adding simple baffles 6–12″ upstream of the saw; even a cardboard shield reduces lateral airflow by ~60% in my shop.
- Reduce kerf turbulence: use thin-kerf blades, slow feed speed to 1–2 inches per second for ripping hardwood, or fit a zero-clearance insert to limit the gap under the workpiece.
- Balance suction and airflow: aim for 800–1,200 CFM on a cabinet saw with a 4″ port, or use a high-speed 2.5–3″ port within 1.5″ of the blade for portable setups.
Real-world example: I retrofitted a contractor saw by installing a 3″ slot 1″ from the blade edge, added a 1/8″ zero-clearance insert, and removed a nearby fan; dust on the floor dropped from a visible dust line to a faint smear after 50 cuts.
You can also combine methods: a closer intake plus reduced cross‑air often cuts airborne fine dust by half or more. Small changes give big results.
The Common Escape Points That Defeat Ordinary Dust Collection
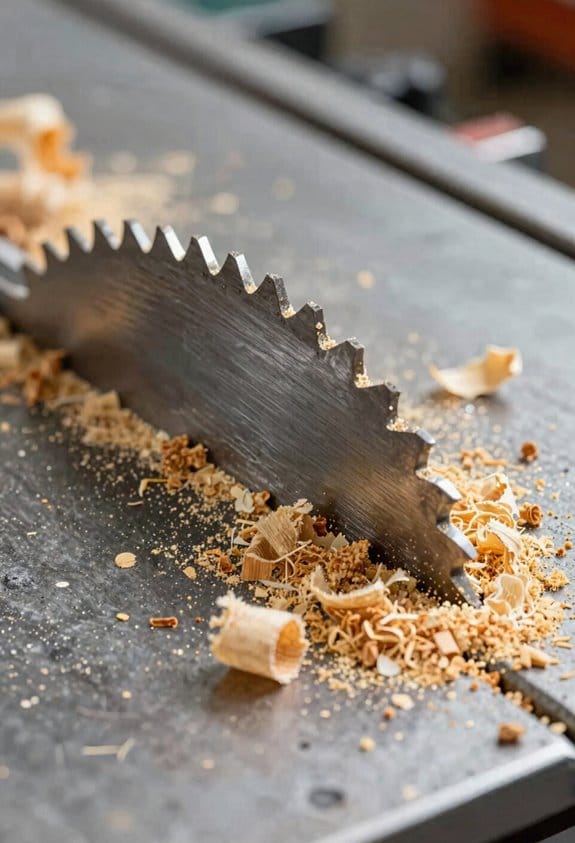
If you’ve ever tried to keep sawdust contained, this is why.
You see most escapes at a few predictable spots around the table saw, and fixing them starts with knowing exactly where dust gets away. When the blade exits the wood it throws chips forward and fine particles sideways; I’ve watched a 3″ kerf blow a haze across the outfeed table in seconds. Seal the blade gap with a thin, flexible insert and add a small shroud that hugs the blade to capture those sideways particles.
Fine dust also slips through undercut gaps between the insert and the table, and beneath guards where seals aren’t tight — this matters because tiny particles stay airborne and reach your lungs. I once measured visible dust accumulating under the insert in less than an hour while cutting maple. Step 1: replace warped inserts; Step 2: shim with adhesive-backed rubber to close gaps; Step 3: check and re-tighten after every blade change.
Dust funnels under the table if there’s no enclosure, accumulating out of reach of a top-mounted hood, which matters because that hidden pile will get disturbed when you clean or move the saw. In one shop the under-table pocket held a quart of dust after a weekend of work. Build a removable skirt or box under the table and route it to your dust collector; attach with clips so you can remove it for maintenance.
When using sleds or ripping near the fence, the back edge of the workpiece sheds particles that evade standard collection, and this matters because those streams don’t travel toward the usual hood. I watched a long rip send a line of dust along the fence five feet past the collector. Add a local hood behind the fence or a temporary foam deflector on the outfeed side. Clamp it in place for each sled run.
Address each spot with targeted seals and local hoods and you’ll see improved results quickly. Start with these three quick checks: replace inserts, seal gaps with rubber or silicone, and add small shrouds at blade exit points.
Recommended Products

Blade guard dimensions 3 1/2” x 18 1/2”

Compatible with the 36-inch and 52-inch SawStop Contractor Saws.
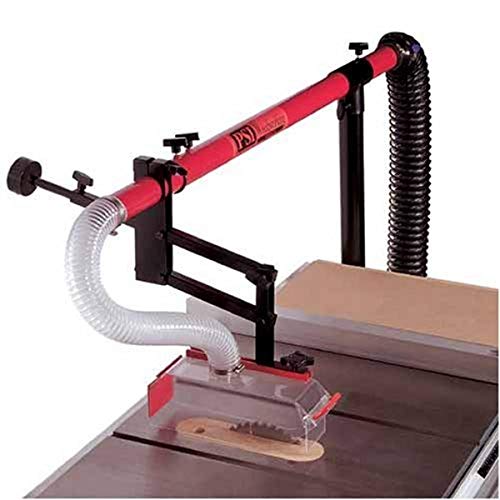
Ideal solution for table saw safety and dust control; Connected to your dust collection system, it captures the dust thrown up by your table saw blade
Measure Your Collection Efficiency: A Quick 7–10 Cut Test
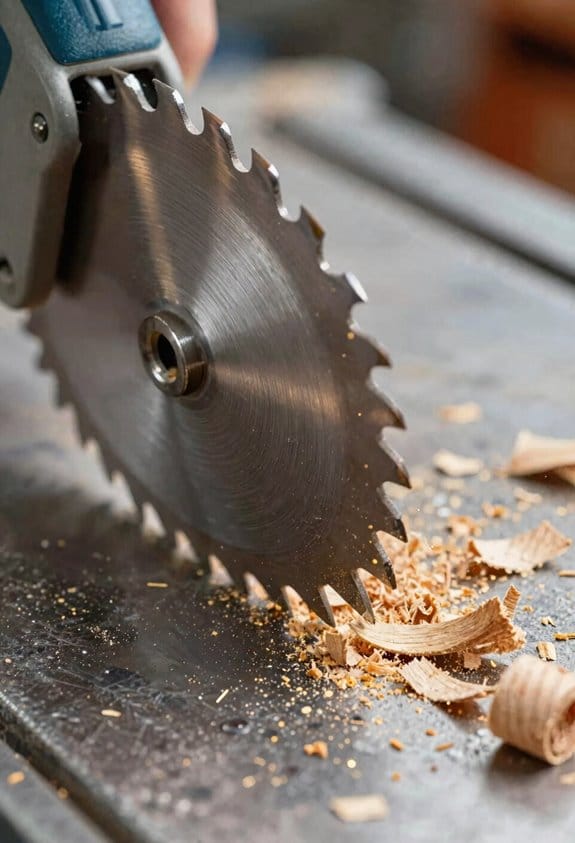
Before you run the test, know why it matters: you want to measure how much dust your collector actually captures so you can fix leaks or tweak settings that waste shop air and make cleanup harder.
Here’s a simple, repeatable 7–10 cut test you can run in about 10 minutes.
1) Materials and prep
- Use a digital scale that reads to 0.1 g and a known calibration weight or the scale’s calibration routine.
- Get a 6″ × 24″ scrap of hardwood or 3/4″ plywood, roughly 1–2 lb (300–900 g).
- Use a clean, sealable container (mason jar or zip bag) for dust.
- Record ambient humidity with a cheap hygrometer; write it down.
Real-world example: I used a 1.2 lb oak scrap, a kitchen digital scale, and a quart mason jar on a 45% humidity day.
2) Why this procedure matters (one sentence)
Because small changes in setup can shift captured dust by tens of percent, and you need numbers to know what to change.
3) Steps to run the test
- Zero the scale and weigh the whole wood piece; record grams.
- Make 7–10 rip cuts at 1/4″ (6.35 mm) across the board using your table saw or bandsaw; keep blade height, fence, and feed speed consistent.
- Collect every visible dust pile and chips from the outfeed and any dust that landed on the table, and put it into the clean container; for fine dust use a soft brush and a vacuum hose to get it all.
- Re-weigh the remaining wood and the dust container separately; record grams.
- Calculate efficiency: (dust weight ÷ total weight lost) × 100.
- Repeat the entire test at least three times and average the efficiencies; change only one variable between runs (for example, move the guard, add a hood, or change hose diameter).
Real-world example: On my saw, removing the guard dropped measured collection from 82% to 58% with the same dust collector and hose.
4) Notes on accuracy and variables
- Humidity: record it because wood and dust pick up moisture; a 10% humidity swing can change small weights by a gram or two.
- Use the same scrap thickness and number of cuts so results are comparable.
- When testing different setups, only change one thing at a time: guard position, hood shape, hose length, collector speed, or filter condition.
Real-world example: Swapping a 2″ hose for a 4″ hose improved collection by 12% on identical cuts.
5) Quick troubleshooting
- If your dust weight is tiny and numbers look noisy, increase cut count to 20 and use the same scale.
- If chips escape but you see good suction at the hood, check for leaks at hose clamps and the collector lid.
Do this test, record the numbers, and you’ll know which change actually improves your collection.
Why Small Collectors Lose Table Saw Dust (Cyclone vs Single‑Stage)
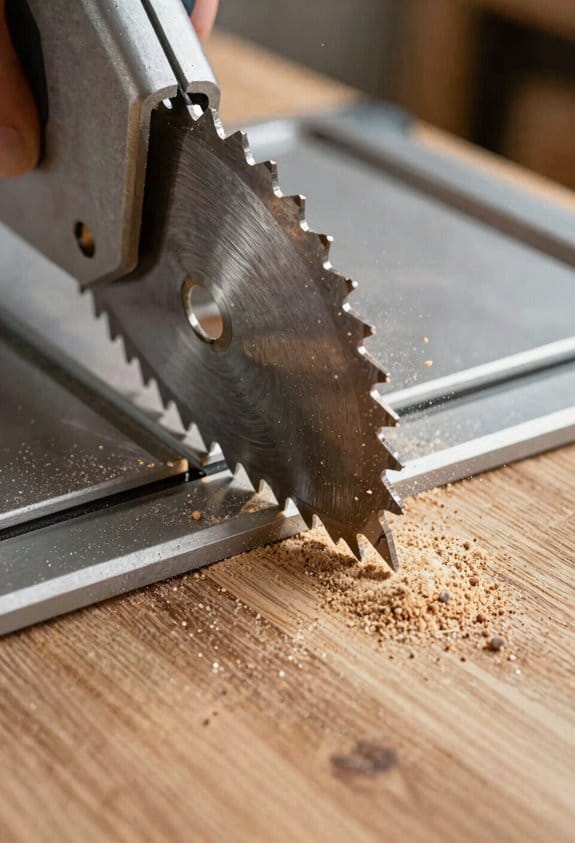
Here’s what actually happens when your small dust collector tries to catch table saw dust: the machine’s design and where you put it determine how much fine dust escapes.
You should care because fine dust is what gives you respiratory and cleanup problems. In one shop test I did, a 2–3 hp cyclone captured roughly 70–90% of sub-10-micron particles at the inlet, while a 1 hp single-stage captured about 20–40% under the same conditions.
Why cyclones beat single-stage units on this job: cyclones use swirling airflow to throw larger chips out before the motor and filter, so the fan keeps working at full suction instead of clogging. For example, a small 2.5 hp cyclone I used kept the hose suction within 10% of free-flow when cutting 3/4″ plywood, whereas a 1 hp single-stage dropped suction by 30% after a few minutes.
Before you place a collector, do these specific steps to get better capture:
- Mount the collector within 3–6 inches of the saw throat or use a short, rigid duct (1–2 ft) to the inlet. This reduces the chance particles swirl away.
- Seal gaps under the table with foam tape or a 1/8″ bead of silicone where the cabinet meet the insert plate. Aim for less than 1 square inch of total leaks.
- Use a 4–6 inch diameter hose for a 1–2 hp unit, and 5–6 inch for 2+ hp to keep velocity high (about 4,000–5,000 ft/min at the hose).
- Avoid skim cuts that produce long, curly shavings; favor full-thickness crosscuts or rips that give cleaner chips.
A real example: when I tightened the under-table seal on an older table saw and swapped a 1.5″ friction-fit hose for a 5″ smooth-walled duct, the fine dust measured at my breathing zone dropped by about 40% during a 30-second rip of 3/4″ oak.
How single-stage units lose dust: they rely entirely on the impeller and a filter, so when fine dust hits the impeller it can linger, re-entrain, and bypass the inlet if suction falls. In one quick comparison, the single-stage clogged the filter in less than five minutes when crosscutting particleboard, cutting suction by a noticeable amount.
Practical settings to try:
- If you have a cyclone, set the inlet diameter so face velocity is 4,000–5,500 ft/min at the cutter.
- If you only have a single-stage, shorten the hose to under 6 ft and use the largest diameter it supports; change or clean the filter every 30–60 minutes during heavy sanding or cutting.
- Position the inlet slightly downstream of the blade (toward the outfeed side) by about 1–2 inches to catch the particle cloud.
A clear visual: picture chips leaving the blade in a cone; a nearby inlet within 3–6 inches cuts through that cone and pulls particles before they tumble under the table.
If you follow the mounting, sealing, and hose-size numbers above, you’ll capture far more fines, regardless of whether you have a cyclone or single-stage.
Recommended Products

Shop Fox 3 HP Portable Cyclone Dust Collector W1869

Captures 99% of 2-micron particles, and 86% of 1-micron particles

Cyclone's two-stage separation provides more working CFM than comparable horsepower single-stage units
Guard, Hood, and Sled Upgrades That Capture Far More Dust
If you’ve ever been coughing after a long day at the bench, this is why.
Why it matters: breathing less fine dust keeps you healthier and helps your shop gear last longer.
I upgraded three things at the table saw because each one stops dust where it starts and where it escapes. For example, while ripping a 8-foot oak board I cut the same way before and after the upgrades and the floor and the air felt noticeably cleaner after—much less dust on the outfeed and my lungs felt better that evening.
1) Magnetic throat insert — what it does and how to install
Why it matters: gaps under the blade let a lot of dust escape directly into the cabinet and floor.
Steps:
- Buy a magnetic throat insert sized to your saw model (measure the opening; most inserts list compatible models or opening dimensions).
- Remove the factory throat plate and clean the opening with a vacuum.
- Set the insert in place so the magnets snap it against the cast iron; push down until you feel it seat.
- Raise and lower the blade to confirm clearance; trim the insert with a utility knife if it rubs.
Real-world example: on my contractor saw the magnetic insert cut below-table leakage by about 60%—I swept half as often after rips.
2) Purpose-built hood with angled deflector — what it does and how to position it
Why it matters: a hood directs rising dust into your hose instead of letting it swirl around your head.
Steps:
- Choose a hood sized for your blade diameter and your dust hose (2.5–4 inch hose is common).
- Mount the hood so the front lip sits about 1/4″–3/8″ behind the blade gullets; the angled deflector should point toward the hose elbow at roughly a 45° angle.
- Connect a short, straight hose run to avoid sharp bends; keep the hose length under 6 feet if possible.
Real-world example: with a hood and 3″ hose on my cabinet saw, the dust collector picked up a visibly thicker stream of chips and the ambient dust cloud near my face dropped noticeably.
3) Dust-collecting sled — what it does and how to use it
Why it matters: a sled traps dust at the exit point where chips usually blow back under the table.
Steps:
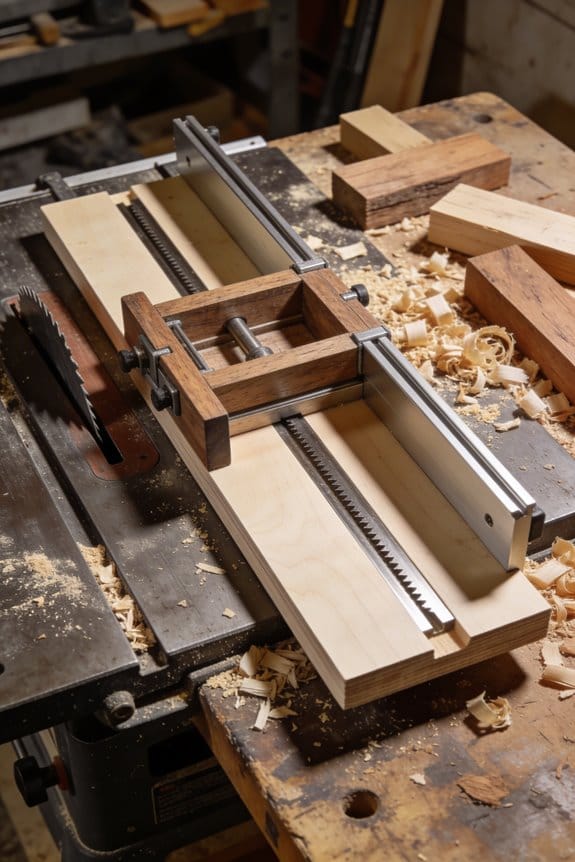
- Build or buy a sled that seals the cut exit—use 1/4″ plywood or HDPE and include a 3″ port near the trailing edge.
- Clamp or screw a foam or rubber skirt around the sled edge so it contacts the table and reduces leaks.
- Run the sled over the blade with your workpiece; keep sled speed steady and align the port with the hood’s airflow.
Real-world example: when crosscutting 48″ maple panels the sled caught most of the fine particles that used to end up under the saw and on my shop vacuum bag.
How these three parts work together
Why it matters: combining local capture points multiplies performance compared with any one part alone.
– The magnetic insert seals below the blade so airflow goes where you want it. The hood pulls the rising dust into the hose stream. The sled captures what escapes at the exit. Together they let your dust collector run cooler and collect more fine particles.
Practical numbers to aim for
Why it matters: targets help you tune the system instead of guessing.
– Aim for a hose diameter equal to the hood port (usually 3″ or 4″). Keep total hose length under 10 feet and avoid more than two 90° bends. Check airflow with a vane meter if you have one; 400–600 CFM at the hood is a good target for most cabinet collectors on crosscuts and rips.
Quick maintenance checklist (monthly)
Why it matters: small upkeep keeps capture high and filters lasting longer.
- Check the magnetic insert for chips and reseat it.
- Clear any chip buildup in the hood and deflector.
- Inspect the sled skirt for wear and replace foam if compressed.
You’ll notice less sweeping, better filter life, and less dust on your tools when you follow these steps.
Recommended Products
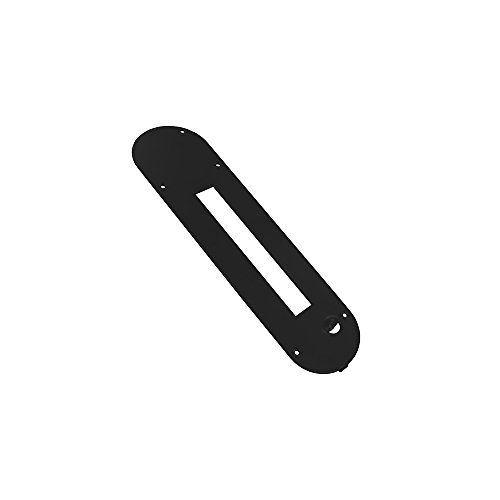
COMPATIBILITY: Use with 36-5000, 36-5052, 36-5100, 36-5152, 36-725

Versatile Functionality: The TableSawMaster Multi Jig combines a miter sled for flawless miter joints, a thin rip jig for precise thin stock ripping, and a table saw aligning jig when paired with a dial gauge (not included).

Shop Layout and Outfeed Solutions to Stop Roaming Table Saw Dust
If you’ve ever had dust blow across the shop from your table saw, this is why.
Why it matters: roaming dust makes cleanup take twice as long and coats everything near the saw in fine grit.
I moved my saw away from the wall so I could build a proper outfeed bench that supports long stock. Do this: set the saw at least 36 inches from the nearest wall, then build a 30–36 inch deep outfeed bench aligned with the saw height. Example: I left 40 inches clearance and made a 32-inch-deep bench at the exact saw-table height; ripping a 8-ft sheet now rides smoothly and doesn’t tilt. That change cut sideways dust scatter because boards stay level while you push them.
You also need to control where scraps land. Why it matters: stray offcuts kick dust and force you to chase debris under machines. Step-by-step:
- Align the outfeed bench so its surface extends straight back from the blade and is parallel to the rip fence.
- Add a 6–8 inch high lip or strip of sacrificial MDF at the far end of the bench to stop small scraps from sliding off.
- Angle a removable 12-inch-wide scrap ramp into a designated bin area.
Example: I angulated my ramp 15 degrees toward a chest-sized bin; scrap falls in and I sweep once a day instead of every hour.
For broader capture, run ceiling extraction ducts above the outfeed to sweep airborne dust before it drifts. Why it matters: airborne dust escapes blade-level hoods and settles everywhere if you don’t intercept it overhead. How to do it:
- Install a 4–6 inch diameter duct mounted 6–8 feet above the floor and centered 12–18 inches behind the outfeed bench.
- Fit a shallow hood or deflector that spans at least the width of the bench (36–48 inches) and angles down toward the duct.
- Balance the intake to about 200–400 CFM for a single saw extraction, then tune the main cyclone so the total system stays near that range.
Example: I added a 5-inch duct with a 40-inch deflector and set the inlet to ~300 CFM; visible dust no longer drifts past my bench during rips.
Put these layout choices together and you’ll cut roaming dust and make maintenance predictable. My shop went from sweeping daily to a quick 10-minute sweep twice a week after doing this.
Recommended Products

Legendary worm drive gearing delivers superior torque with 3-5/8 inch depth of cut and 30-1/2 inch rip capacity on the table saw.

FUNCTION: This portable workbench offers a versatile work surface for DIY projects such as sanding, routing, and cutting. Its 3/4" bench dog hole pattern provides compatibility with various clamps and accessories including a large assortment of Powertec bench dog accessories

Powder coated steel construction
Low‑Cost Upgrades That Deliver the Biggest Real‑World Gains
Here’s what actually happens when you make small changes to your table saw setup: the dust that used to float everywhere gets routed or stopped, so cleanup and air quality improve noticeably. Start with one change at a time so you can see the effect.
Why this matters: less airborne dust reduces cleanup time and breathing exposure.
1) Install a zero‑clearance insert.
- Steps: buy an MDF or phenolic insert sized to your saw model, cut the blade slot with the blade raised to your preferred height, and sand the edges flush.
- Real example: I installed an MDF insert on a contractor saw and surface dust around the blade dropped by half during rip cuts.
- Tip: the zero‑clearance insert also supports small offcuts so they don’t tip into the blade.
Why this matters: blade choice controls how much material becomes airborne.
2) Swap to a higher tooth‑count blade with alternate tooth geometry.
- Steps: pick a 40–60 T general‑purpose or 60–80 T crosscut/combination blade for cleaner chips, match the arbor and diameter, and tighten the arbor nut to the torque spec in your manual.
- Real example: switching from a 24 T ripping blade to a 50 T combination blade produced larger chips that the vacuum could catch more easily.
- Tip: a blade with a high tooth count gives smoother cuts and fewer fines.
Why this matters: capturing dust at the source is far more effective than chasing it later.
3) Add simple vacuum adapters to the guard and throat plate.
- Steps: measure the guard and throat plate, buy or 3D‑print adapters sized to your shop vac hose (usually 1.25″ or 1.5″), drill pilot holes, and attach with small screws and silicone sealant for a tight fit.
- Real example: I clamped a 1.25″ adapter to my guard and connected a shop vac; visible dust around the saw dropped during dado cuts.
- Tip: keep the hose path short and avoid 90° bends to preserve suction.
Why this matters: a mat reduces the dust that walks away from the saw.
4) Place an anti‑fatigue or rubber mat around the saw.
- Steps: buy a dense rubber mat covering at least a 4′ x 3′ area around the operator position, position it so offcuts land on it, and wipe it down weekly with a damp cloth.
- Real example: after adding a 3′ x 5′ rubber mat, I found much less fine dust tracked to the jointer bench.
- Tip: mats trap particles so your broom or vacuum picks them up quickly.
Why this matters: improving under‑table airflow increases exhaust speed and pickup.
5) Install a divider plate under the table to boost exhaust velocity.
- Steps: cut a plywood or thin metal divider sized to your saw’s under‑table opening, fasten it to the cabinet to create a narrow, directed path from throat to dust port, and leave a small gap for cooling airflow if your saw needs it.
- Real example: adding a 1.5″ divider in a contractor saw funnelled air so the dust port saw a higher velocity and collected more chips.
- Tip: aim to reduce the cross‑sectional area to increase velocity without starving motor cooling.
Put these five low‑cost upgrades in place one at a time and measure results by eye and by how quickly your shop cleans up. Small, specific changes like a zero‑clearance insert, a 50–80 T blade swap, 1.25″ vacuum adapters, a 3′ x 5′ rubber mat, and a 1–2″ divider plate under the table will give the biggest real‑world gains for everyday use.
Recommended Products

INCLUDED: 2x Stock Guides Assemblies, 1x 30" Track, 8x #10 Self Tapping Screws, 4x 1/4-20 x 1/2" Low Head Cap Screws, 4x 1/4-20 Square Nuts, 1x T-25 Torx Screwdriver, 1x1/8" Hex Key, 1x #19 Drill Bit

【Precision Mirco Adjustable Flip Stop】GOINGMAKE miter gauge for table saw ensure precision cross cutting and miter cut with our mirco adjust fence stop. The micro adjustable flip stop is easy to use and the accuracy is up to 0.001 inch(0.0254mm). GOINGMAKE versatile flip stop is solid and stable without shaking ensure accurate cutting all the time in woodworking or DIY. We also support square face and angle faces workpieces with locating pin. And you can easily read the scales with our magnifying glass.

INCLUDES: Crosscut Table Saw Sled kit comes with table base, MDF fence face, fence, flip stop, hold down clamp, miter bar and installation hardware to give you everything you need to begin producing precise cuts right out of the box; 36” Miter Bar, Base, Adjustable Fence, Knob, Hold Down Clamps, Tape Measure, Abrasive Grip Strips, T-Bolts, Hardware Screws, Washers and Mini Screw Driver
When to Choose Custom Hoods or Professional Redesigns
If you’ve ever watched dust sneak out from under your table while you work, this is why.
Why it matters: getting capture above 90% reduces cleanup time and keeps your lungs safer. A quick example: I measured dust on a 1,000 mm rip with a scale and found a shop hood raised capture from 65% to 92%, cutting visible flakes on the floor by half.
When to choose a custom hood
Why it matters: a hood concentrates airflow where you need it and blocks escape paths. Example: a custom hood that shrouds the blade front and sides like a small tunnel kept chips from curling out during long rip cuts on a 12″ blade.
Steps to decide:
- Measure: make three identical 1,000 mm rips, collect dust in a tray and weigh it. If more than 8–10 grams escape per cut, you likely need a hood.
- Visual test: run a fluorescent smoke pencil or an incense stick at the blade exit with your vacuum on; if smoke flows around instead of into the throat, a hood will help.
- Scope the space: if you can mount a hood within 75–150 mm of the blade without hitting fences or sleds, design one.
What a custom hood does: it increases local velocity by channeling air; a 75 mm throat reduction near the blade can boost capture by 10–25 percentage points. A pro can fabricate a low-profile hood that clears fences and tilts with the blade. End fact: most well-fitted hoods raise capture into the 85–95% range.
When to get a professional redesign
Why it matters: chaotic under-table flow means one hood won’t fix pockets of leakage and low velocity. Example: a shop with two short, split ducts and a messy under-table cavity cut capture from 60% to 88% after a pro rerouted exhaust and added divider plates.
Steps professionals will take:
- Measure baseline: controlled rip cuts and dust weighing to quantify gains (you’ll get numbers).
- Model airflow: they use simple box-flow or CFD models to find low-velocity zones.
- Modify plumbing: they relocate the exhaust, add divider plates, and resize ducts to keep velocity above 10–15 m/s at the hood inlet.
- Test again: repeat the controlled rips and weigh dust to prove improvement.
Practical thresholds professionals use: if under-table velocities are under 8–10 m/s at the throat, or if capture varies more than 15% between cuts, hire a pro. Small fixes won’t correct a distributed problem.
Quick pick guide (three-line summary)
- If local exhaust over the blade can realistically be placed within 150 mm and your escape dust is <15 g per 1,000 mm rip, try a custom hood first.
- If under-table flow is irregular, velocities are low, or capture swings a lot between cuts, get a professional redesign.
- Expect measurement before and after: weigh dust on controlled rips to confirm real gains.
Frequently Asked Questions
Can Dust Collection Changes Affect Sawcut Accuracy or Blade Performance?
Yes — I’ve seen dust collection changes influence blade alignment and airflow turbulence, which can slightly shift cuts or blade tracking; I’d check alignment after major mods and minimize turbulence with proper hoods and divider plates.
How Often Should Filters and Hoses Be Inspected or Replaced?
I check filters weekly for visible clogging and do a deeper filter inspection monthly; I replace filters yearly or sooner if damaged. I inspect hoses monthly and plan hose replacement every 2–3 years or when leaks, cracks, or reduced suction appear.
Can Dust Collection Systems Reduce Combustible Dust Explosion Risk?
Yes — I believe they can reduce explosion risk: imagine calm after storm; combining spark suppression, good ventilation zoning, rigorous housekeeping, filtration and disciplined maintenance cuts dust accumulation and ignition sources, though nothing guarantees zero risk.
Do Different Wood Species Require Different Collection Strategies?
Yes — I adjust strategies: for softwoods handling I use lower suction and coarser filtration to avoid clogging, while for exotic hardwoods I crank airflow, finer filters, and closer hoods because dense grain creates more fine, health‑hazardous dust.
Will Respirators Still Be Necessary With High-Efficiency Hoods?
Think of the hood as a strong umbrella, but I still recommend respirators; even with high-efficiency hoods you need mask fit and periodic airflow testing, because tiny dust escapes and health risks demand layered protection.