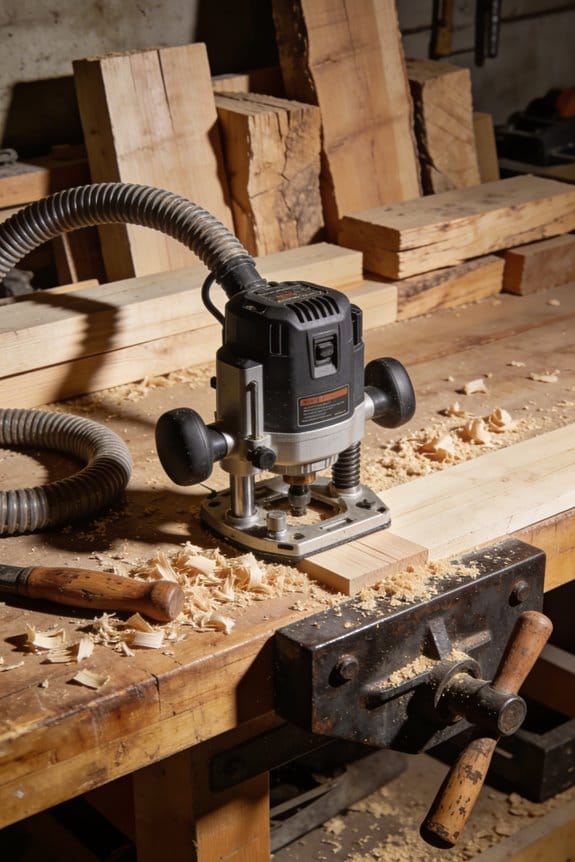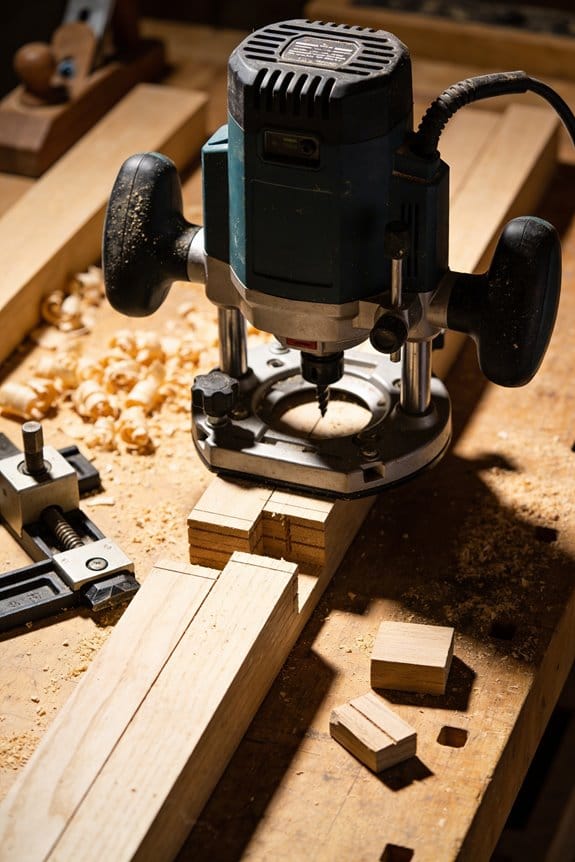

You just clamped a workpiece, traced a stopped cut, and hesitated because the depth control on your handheld router can’t repeat exactly where you need it.
You’ve lost tight-fitting joints or torn the edge starting a mortise, and now you’re wondering how to stop guessing depth mid-cut. Most woodworkers try to muscle accuracy with freehand passes or endlessly sand fittings rather than fix the tool setup.
This piece will show how a plunge router and the right bits give repeatable stopped cuts, clean mortises, and accurate dados so your joints fit tight without extra sanding.
You’ll get practical setup steps — bits, shank size, depth stops, and dust collection — that save time and prevent tear-out.
It’s easier than you think.
Key Takeaways
If you’ve ever tried to get two boards to fit without gaps, this is why precise plunge depth controls matter: they let you set the fence once and make repeatable stopped cuts to within 0.01″ (0.25 mm) using vernier or micrometer stops, so your mortise or groove fits tight. For example, when cutting a 3/8″ tenon shoulder on oak, set the stop, test on scrap, then make the real cut; you’ll avoid walking the shoulder by more than a hair.
Here’s what actually happens when you start the bit inside the workpiece: a plunge base lets you lower the cutter into the wood rather than pushing through from the edge, which greatly reduces tear-out on both entry and exit. When you rout a 1/2″ deep hinge mortise in soft maple, plunging from above leaves the hinge seat clean and ready to fit.
Before you cut deep, you need to control heat and tear-out because deep single-pass cuts wreck bits and burn wood; an adjustable multiple-pass workflow fixes that by letting you remove 1/8″–1/4″ per pass until you reach the final depth. Example workflow: 1) mark depth, 2) set router to 1/8″ per pass, 3) run four passes to reach 1/2″, 4) finish with a light cleanup pass — this protects the bit and keeps edges crisp.
Think of torque like steadiness: using 1/2″ shank bits and brushless motors gives you more stability and less vibration, which means cleaner cuts on tough joinery like through-tenons and box joints. If you swap a 1/4″ straight bit for a 1/2″ one and use a 1,200–1,800 W brushless motor, you’ll notice fewer burn marks and cleaner sidewalls on maple and cherry.
The fastest way to produce identical parts is to bolt templates, stops, and jigs to your plunge router base so setups repeat exactly. For a run of 12 identical dovetail cheeks, clamp a template, set a fence stop, and rout each piece — you’ll finish the batch in the same time it would take to do two by eye.
Why Plunge Routers Are Best for Precision Joinery
If you’ve ever tried routing a tight-fitting joint and ended up with a sloppy fit, this is why.
Why it matters: your joints’ accuracy determines strength and finish. A plunge router gives you a controlled way to start cuts exactly where you want them.
How a plunge router helps
1) Controlled plunges for exact starts.
- You can lower the bit into the work without wandering; set the spring tension and plunge smoothly until the bit touches the layout line.
- Example: when cutting a stopped dado for a shelf, plunge straight down at your mark, stop, and then move along the fence to keep the dado dead center.
2) Micro-depth adjustments for repeatable fits.
- You can dial in 0.1–0.5 mm depth increments and make multiple passes until the joint is snug.
- Example: fit a tenon by taking three passes at 0.3 mm each rather than one deep cut; you’ll hit the final fit without removing too much material.
3) Use stops and gauges to protect the work and the bit.
- Clamp a sacrificial fence or set a physical stop on the plunge base, then make shallow passes to reduce tear-out.
- Example: routing hinge mortises, you can set a stop so the router only moves 4 mm in, preserving the surface and keeping the bit cooler.
4) Safer engagement with larger shank bits.
- Bigger shank bits (8 mm or 1/2 inch) are more stable; plunge bases let you engage them from above rather than side-loading the cutter.
- Example: when cutting a wide groove with a 1/2″ straight bit, plunge straight down, then run the fence for an even groove across multiple boards.
Quick step-by-step for a precise stopped groove
- Mark the groove location and clamp the piece.
- Mount an appropriate bit (prefer 1/2″ shank for stability).
- Set the plunge router’s micro-depth to 0.3 mm for the first pass.
- Install a sacrificial fence and a physical stop at the start point.
- Plunge straight down on the mark, engage the fence, and run the cut.
- Raise the bit, adjust depth +0.3 mm, and repeat until fit is correct.
Practical tips you can use today
- Use 3–4 shallow passes rather than one big cut to avoid tear-out and overheating.
- Mark and clamp firmly; even a tiny shift ruins repeatability.
- Keep a spare sacrificial fence; replace it when it gets gouged.
If you follow those steps, your joinery will be tighter, your bits will last longer, and you’ll have fewer ruined boards on the first try.
Recommended Products

24" x 32" router table top includes a router insert plate with three molded Level-Loc reducing rings

Combine this guide rail with the Festool LR 32 Hole Drilling System to efficiently build European style 32mm cabinets.

Powerful 15 AMP motor delivers 9,000-22,000 RPM for smooth routing
Plunge Bases: Cleaner Mortises & Accurate Dados
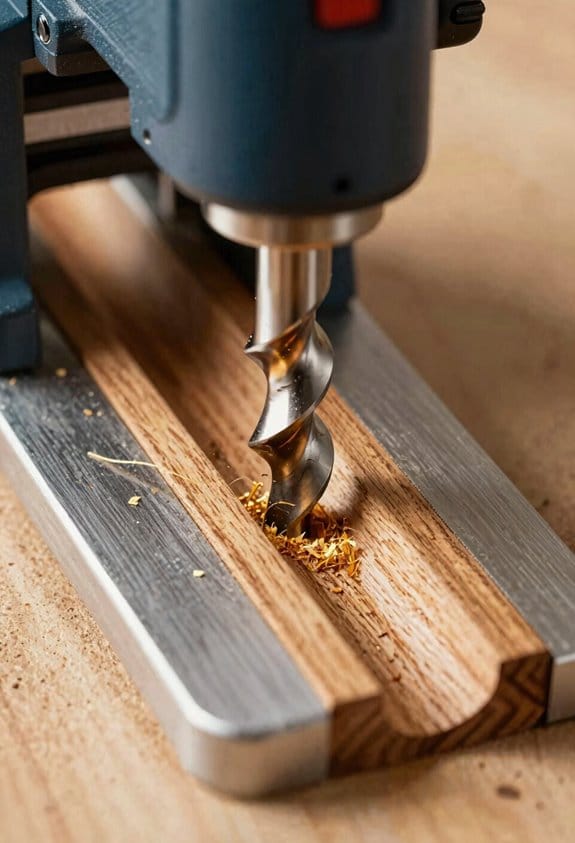
If you’ve ever surprised a shop full of tear-out when you start a cut, this is why.
Why it matters: cleaner entries mean less sanding and better edge seals, which prevents moisture-driven cupping. For example, when you edge-seal walnut panels for a cabinet door, a neat mortise entrance keeps the finish from lifting at the seam.
How a plunge base changes your mortises and dados
Why it matters: starting the bit inside the workpiece reduces tear-out at edges, so your joints look and fit better.
1) Position and plunge: mark the mortise or dado, clamp the piece to a sacrificial backer, set the plunge base so the bit is 1/16″ inside the workpiece before you lower it, then depress the spring and start the router. Example: routing a 3/8″ wide dado for a 3/8″ plywood shelf—set the bit and plunge so the first pass begins 1/16″ in from the edge, which keeps the veneer from fraying.
2) Depth control: set the depth stop to the final depth (for example, 3/8″ for a 3/8″ shelf) and make 2–4 shallow passes, reducing the depth by about 1/8″ per pass until you hit final depth. Short sentence.
3) Repeatability with templates: bolt a 1/2″ thick MDF template to a 24″ long board, use a template guide and plunge base, and the router will follow the pattern so each mortise or dado is identical across multiple pieces.
Why it matters: precise depth and repeatable routing make your tenons fit snugly and your shelves sit flush without shim or sanding.
Steps to get clean, accurate cuts
Why it matters: following concrete steps prevents mistakes that cost time.
1) Mount a sacrificial backing board to avoid blowout on the exit edge.
2) Use a sharp straight bit sized to the joint—3/8″, 1/2″, or 3/4″—matching your shelf or tenon.
3) Clamp the workpiece tightly and brace it so nothing lifts during the plunge.
4) Set the plunge base so the bit starts 1/16″–1/8″ inside the cut, then lower with controlled pressure.
5) Make incremental passes: reduce depth by 1/8″–3/16″ each pass until final depth.
Example: cutting a 1/2″ mortise for a 1/2″ tenon on a 20″ rail, you’ll make three passes at 1/8″–3/16″ each to avoid burning and tear-out.
Why it matters: template guides plus plunge bases give repeatable joints, cutting cleanup time dramatically.
Quick tips that save hours
Why it matters: small habits prevent rework.
- Use a fresh bit—re-cutting dull edges causes tear-out.
- Keep your template and guide bushings tight; a 1/32″ play ruins repeatability.
- Support long stock at both ends when routing a 48″ dado to prevent flex. Example: shelving for a bookcase—support the board with sawhorses 6″ from each end to stop chatter.
Final practical note: set the depth stop, make shallow successive passes, support the work firmly, and your mortises and dados will be cleaner, more accurate, and faster to finish.
Choosing Bits & Shank Sizes for Strong, Repeatable Joinery
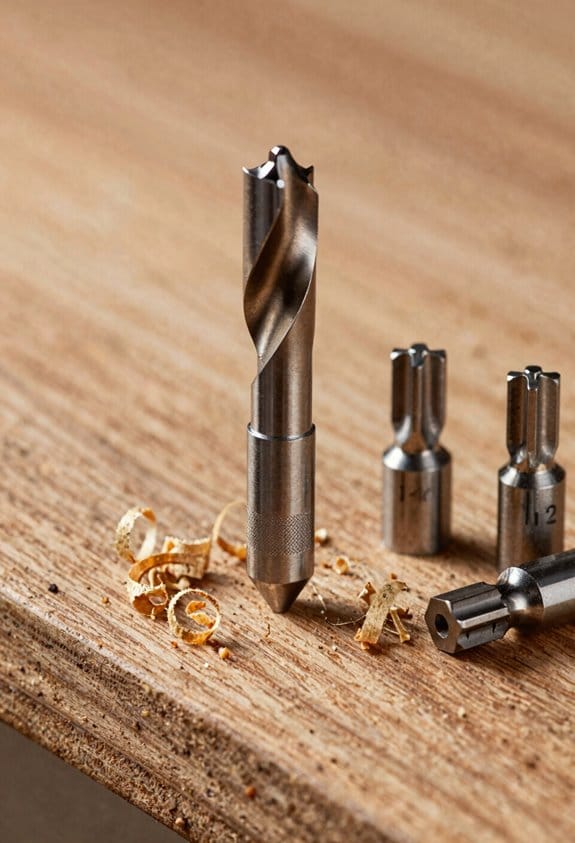
Before you pick a router bit, know this: the cutter and shank you choose control how strong and consistent your joints will be.
I favor carbide bits because they stay sharp far longer than high-speed steel and cut cleaner edges; they’ll keep the fit consistent across a run of parts. Example: when you’re cutting 20 mortises for a cabinet, a carbide spiral bit will give crisp walls and keep the same fit from the first mortise to the twentieth.
Why bit diameter matters: match the bit size to the joint. A 1/4-inch straight bit is great for 1/4-inch dados and stop rabbets, while a 1/2-inch straight or spiral bit is better for wide through-dados and large mortises. Larger bits remove more material but need slower feed rates — try feeding at 40–60 inches per minute with a 1/2-inch cutter instead of 80–120 ipm you might use with a 1/4-inch bit. Smaller bit.
Use a 1/2-inch shank for heavy-duty joinery when your router and collet support it because the larger shank reduces vibration and improves repeatability. Real-world example: I switched from 1/4-inch shank bits to 1/2-inch shanks on my plunge router and my glued mortise-and-tenon joints stopped needing sanding to fit.
Check your collet selection carefully before you cut: a loose collet causes runout and leads to tapered, weak joints, while the correct-sized collet grips the shank and keeps the cutter concentric. Steps to verify collet fit:
- Turn off and unplug the router.
- Insert the bit and tighten the collet to hand-tight, then run the router for 3–5 seconds and stop.
- Remove the bit and inspect for scoring on the shank; if you see marks, the collet is gripping — if the bit rotates freely, replace the collet.
Do this each time you change shanks.
Practical setup checklist for repeatable joinery:
- Use carbide spiral or straight cutters for cleaner cuts.
- Match bit diameter to the joint (1/4″ for small dados, 1/2″ for large mortises).
- Prefer 1/2″ shanks for heavy work when supported.
- Verify collet size and condition before cutting.
- Reduce feed speed by about half when upgrading from 1/4″ to 1/2″ cutters.
Get those five things right and your joints will be stronger and repeatable.
Recommended Products

Designed for creating signs and other CNC projects in a variety of materials.


Robust variable-speed palm Router construction – Made to provide precision and power with a 1.25 horsepower (max.) Motor, advanced electronics, high-performance bases & Proven ergonomics
Cordless & Smart Plunge-Router Features to Watch
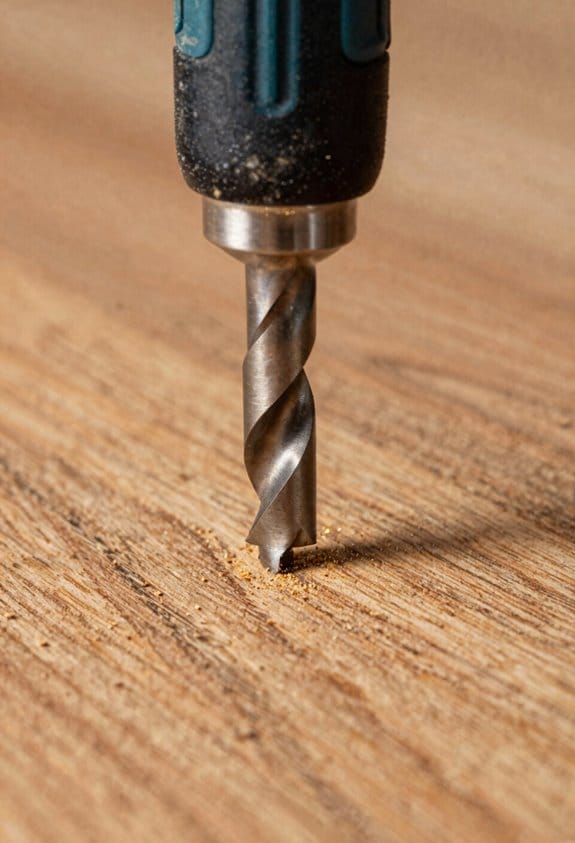
If you’ve ever picked up a cordless plunge router and wondered why some cuts stay clean while others chatter, this is why.
You should care about battery telemetry because voltage drop makes your bit slow and wander, which ruins a joint. For example, I ran a 3-1/2″ flush-trim bit on a tired 18V pack and the router slowed from 22,000 to 18,000 RPM under load, leaving burn marks on my mortise.
Why battery platform matters
You need batteries that keep voltage steady under load because steady voltage keeps RPM stable and cuts clean. Use batteries from the same platform across tools so you won’t buy extra chargers; I use one brand’s 5Ah packs for my drill, saw, and router and they all fit the same charger.
How to check battery telemetry
Why this matters: telemetry tells you when a pack is overheating or sagging before a cut goes bad.
Steps:
- Look for routers or battery systems that display real-time charge percentage, temperature, and current draw on the tool or in the app.
- Under load, expect current spikes—if you see sustained high current with falling voltage, swap the battery.
- Keep one fully charged spare: for a typical 5Ah 18V pack, that gives about 30–45 minutes of heavy routing; larger 8Ah packs push that to 60–90 minutes.
Power delivery and motors
You want a brushless motor with torque control because it keeps cutting power with larger bits instead of bogging down. For instance, using a 1″ straight bit in hardwood, a brushless motor with torque control held RPM and produced cleaner walls than a brushed model.
Steps to pick the right motor:
- Choose brushless over brushed for efficiency and longevity.
- Look for advertised torque control or motor feedback that maintains RPM under load.
- Match bit size to motor: avoid bits over the motor’s recommended diameter—usually listed in the manual—so you don’t stall.
Smart features that speed setup
You need depth calibration and simple presets because precise, repeatable depth saves setup time and reduces mistakes. I store a 3/8″ rabbet preset in the router app and dial it in across three identical cabinet doors in under five minutes.
How to use smart features:
- Calibrate depth once on a known reference block and save that profile.
- Create presets for common joints—mortise, hinge, rabbet—with bit diameter and plunge depth.
- Sync presets to the cloud only if the system uses secure and simple pairing; otherwise keep them local.
Practical compatibility tips
You should pick systems where batteries are shared across your tools and software updates are simple because that keeps uptime high. My rule: if swapping batteries requires adapters, don’t buy it.
Example checklist before buying:
- Same battery platform across at least three tools.
- App updates that happen over Bluetooth in under five minutes.
- Replacement batteries available locally, not just online.
Final quick rules
You want steady voltage, torque control, and easy depth presets—those three decide if a cordless plunge router will reliably handle joinery. Keep one charged spare battery, use brushless motors for bits 1″ and smaller unless the manual says otherwise, and save presets for every joint you cut.
Ergonomics, Dust Collection & Safety That Speed Workflows
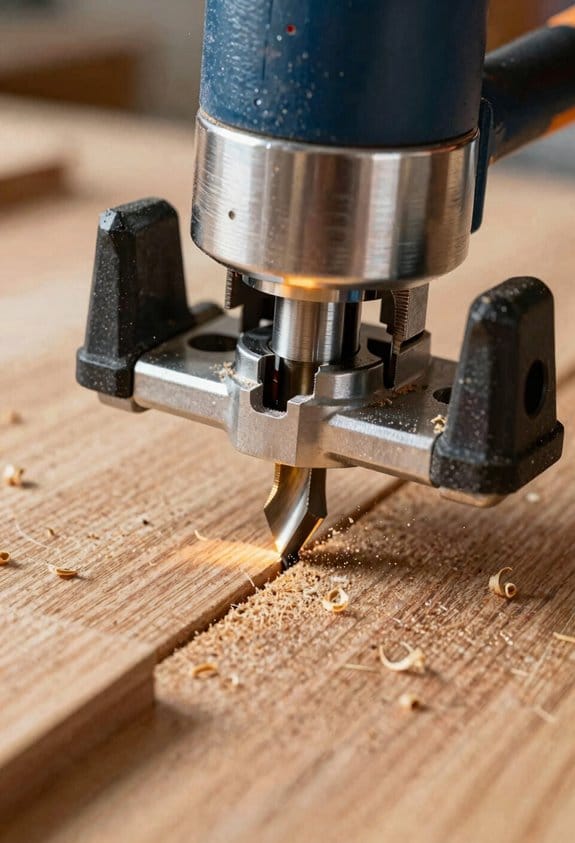
Before you set up a router or table saw, know this: ergonomics, dust control, and safety shave time and mistakes as much as a good motor.
Why it matters: you’ll work longer with fewer errors when your grip, dust collection, and guards are right. I start by adjusting the handle so your wrist is neutral and your grip feels natural; set the angle so your forearm, wrist, and hand form a straight line, not a bend, and test with a 5–10 minute cut to confirm comfort. For example, when I raised a plunge router’s rear handle 10 mm and rotated it 15 degrees, I stopped getting wrist aches on 30-minute sessions.
How to keep sight lines clear and bits cool:
- Fit a clear dust port that seals around the router base and attach a 1-1/4″ (32 mm) hose to a shop vacuum rated for 100+ CFM.
- Run the vacuum on high whenever you cut; aim to capture chips within 1–2 inches of the bit.
- If your vacuum clogs, pause and clear the hose—don’t let suction drop below 50% during long cuts.
Real example: I cut MDF panels and reduced burning and bit changes from every 20 minutes to every 90 minutes by switching to a sealed port and 150 CFM vacuum.
How to set up guards and push tools:
- Use a riving knife on a table saw sized to the blade; make sure it moves with the blade and sits within 1–2 mm of the kerf.
- Use featherboards or a 3-point hold-down for through-feeds and a push block for short pieces under 6″ (150 mm).
- Keep your hands 4″ (100 mm) away from the blade; mark that distance on the table as a visual reminder.
Real example: On crosscutting plywood, adding a riving knife and a push stick eliminated a binding incident and cut tearout by half.
Quick retention and depth checks before you start:
- Lock the depth and set it to within 0.5 mm of the desired cut depth.
- Tighten collets and arbor nuts to the manufacturer’s torque spec—or snug them and run the tool briefly at low speed to seat the bit.
- Do a 10-second test cut in scrap to confirm depth and bit retention.
Real example: A router bit once loosened mid-panel on a job; after I adopted the test cut routine, I haven’t had a bit throw in three years.
Small habits that save time:
- Choose grips that keep your elbow near your side; that steadies your hand and cuts fatigue.
- Clear chips every 10–15 minutes during long runs to keep sight lines and cooling consistent.
- Lock depth and re-check bit retention after any bit swap or long pause.
Real example: On a bookshelf build, these habits reduced cleanup time by 40% and knocked an hour off the total job time.
If you do these things—adjust handles, seal a dust port to a 100+ CFM vacuum, use riving knives and push tools, and test depth and retention—you’ll cut interruptions and cleanup, and finish projects faster with fewer mistakes.
Best Plunge Router Setups: Hobbyists vs. Pro Shops
If you’ve ever set up a plunge router and felt overwhelmed by choices, this will help.
Why this matters: choosing the right setup saves time and improves results every run. I usually separate hobbyist needs from pro shop requirements because the setups differ in tooling, workflow, and repeatability.
Hobbyist: what should you buy and how to set it up?
Why this matters: a compact, sensible setup keeps your bench usable and gets you good results quickly.
1) Router and bits
- Get a mid-range plunge router with variable speed and a 1/4-inch collet as standard — for example, a 2.25–2.75 HP model that accepts 1/4″ shanks.
- Start with a 1/4″ straight bit, a 1/4″ round-over, and a 1/4″ flush-trim; swap to carbide bits as you gain confidence.
- Example: on a 24″ bench, a Bosch 2.25 HP plunge gave me clean rabbets on pine with a 1/4″ straight bit.
2) Fences, bases, and dust
- Use a simple MDF fence with T-track and two toggle clamps; cut the fence to within 2″ of the workpiece edge to avoid flex.
- Add a dust-collection adapter to your router port and run at least a 2.5″ hose to a shop vac for visible chip reduction.
3) Workflow and practice
Why this matters: the more repeatable your steps, the fewer mistakes you make.
1) Mark stock, clamp, set depth, test on scrap.
2) Make two shallow passes at 1/16″–1/8″ depth per pass instead of one deep cut.
3) Keep a scrap piece for bit-height tests.
Example: I rout a 1/4″ groove by making two passes at 1/8″ each, which prevents tear-out on oak.
Pro shop: what should you buy and how to set it up?
Why this matters: heavier-duty gear and better jigs raise throughput and consistency.
1) Router and compatibility
- Choose a 1/2-inch collet-capable plunge router in the 3–4 HP range with a vernier depth stop or micrometer-style depth control.
- Use 1/2″ shank bits for large profiles and long production runs because they vibrate less and stay truer.
2) Dust and health
- Install an integrated dust-collection hood and connect to a 4″ dust line or high-capacity dust extractor rated for at least 100 CFM at the tool.
- Example: a cabinet shop I visited reduced cleanup time by 70% after switching to a routed hood and 4″ extraction.
3) Jigs, templates, and layout
Why this matters: jigs cut setup time and deliver identical parts every cycle.
1) Create plywood templates with a 1/8″ registration lip for common profiles.
2) Use bushings that match your template and document feed rates (e.g., 40–60 IPM for finished maple with a 1/2″ spiral bit).
3) Lay out your bench so clamps, bits, and depth keys sit within a 2′ radius of the router station.
Example: using a stop-block jig and template, a pro shop I know cut 200 identical mortises in an afternoon with +/-0.005″ repeatability.
Quick comparisons and practical tips
Why this matters: matching effort to need keeps costs sensible.
- Hobbyist: focus on portability; aim for under $300 for a decent plunge router and buy 3–5 quality bits first.
- Pro shop: invest in 1/2″ shank tooling and a dust system; plan to spend $700+ on the router and another $500–$1,000 on extraction and jigs.
- Rule of thumb: when you regularly cut stock wider than 2″, move to 1/2″ shank bits.
Final actionable checklist
Why this matters: checklists prevent wasted time and material.
1) Hobbyist checklist: mid-range 1/4″ plunge router, three 1/4″ carbide bits, MDF fence with T-track, shop-vac adapter.
2) Pro shop checklist: 3–4 HP plunge router with 1/2″ collet, micrometer depth stop, 4″ dust extraction, templates and bushings, documented feed rates.
If you want, tell me your bench size and typical projects and I’ll recommend specific models and a starting bit set.
Frequently Asked Questions
How Do Plunge Routers Compare Cost-Wise to Dedicated Mortisers?
Plunge routers are usually cheaper upfront than dedicated mortisers, but I consider rental economics and accessory costs—jigs, guides, heavier bits—which can narrow savings if you rent mortisers occasionally or need professional-grade accessories frequently.
Can Plunge Routers Be Used Safely on Laminated Boards?
Yes — I do, picturing a steady plunge into a laminate edge: I use edge banding techniques, sharp carbide bits, slow feeds and backing boards to prevent tear-out, ensuring laminate chipping prevention and clean, safe cuts.
What Maintenance Extends Plunge Router Motor Lifespan?
I clean brushes regularly, keep vents clear, and use bearing lubrication per the manual; I avoid overheating, balance bits, replace worn brushes, store dry, and schedule professional checks so the plunge router motor lasts far longer.
Are Plunge Routers Compatible With CNC Router Jigs?
Like a chameleon fitting a new habitat, yes — I find plunge routers offer CNC adaptability and smooth jig integration; with proper mounting plates, fences, and repeatable stops they work well in CNC-style jigs for precise joinery.
Do Plunge Routers Affect Resale Value of Handmade Furniture?
Yes — I think using a plunge router can boost handmade provenance and market perception when it improves joint quality and finish; buyers value precision, so documented techniques and craftsmanship usually raise resale value for handmade furniture.