
You ran a profile pass and the edge looked great at first, then showed ragged tearout and inconsistent depth along the run.
You tried a different cutter and still got waves or burning, and now you can’t tell whether the bit, the feed, or the machine is to blame.
Most people blame the shape of the profile alone and overlook how flute type, cutter bearings, and runout actually control cleanup and consistency.
This article shows, in plain steps, how to choose the exact bit, bearing size, and flute orientation to get clean, repeatable edges every time, and how to set up the collet and feeds to avoid tearout and burning.
You’ll get a clear checklist and test-pass routine.
It’s easier than you think.
Key Takeaways
If you’ve ever watched a router bit cut an edge, this is why.
Why it matters: the bit profile decides how the piece looks and how it wears. For example, a 3/8″ roundover on a kitchen cabinet door makes the edge feel softer and hides minor dings.
– A roundover, chamfer, ogee, cove, or bead bit sets the final shape and function of the edge. Pick a 1/4″ or 3/8″ radius for hand-feel comfort on a table edge, or a 1/8″ chamfer if you want a crisp shadow line for modern cabinets.
If you’ve ever tried to plane out tearout, this is why.
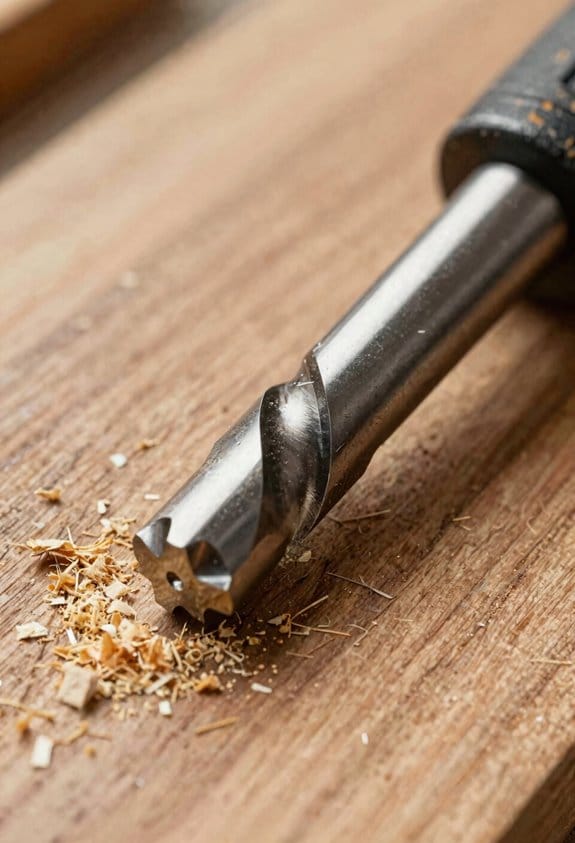
Why it matters: flute geometry changes finish quality and chip flow. A spiral bit gives you a smoother long-profile cut because it shears fibers rather than tearing them; for instance, a down-spiral 1″ bit in maple reduces fuzz on a drawer front. Use straight flutes for budget cuts and quick stock removal.
Before you cut laminated plywood, you need to know this.
Why it matters: cutter rotation (up-cut, down-cut, compression) controls tearout at the top and bottom surfaces. Use a compression bit for plywood with a 3/4″ thickness to avoid top and bottom splintering; a 1/2″ up-cut works when you need fast waste removal and you can accept some top tearout.
Think of tool accuracy like fitting a key to a lock.
Why it matters: bit diameter and bearing determine the exact offset and repeatability from piece to piece. Match a 1/2″ cutter to a 1/2″ bearing for consistent profiles; if you swap to a 5/8″ bearing, expect a 1/16″ difference in the visible profile. For production runs, label bits and bearings and record which combo produced the finished part.
If you’ve ever burned an edge, this is why.
Why it matters: carbide grade, coatings, and runout affect heat, burning, and chatter. Choose a fine-grain carbide or TiCN-coated bit for frequent hardwood work, check runout with a dial indicator to keep it under 0.002″, and replace the bit if you see burn marks after two passes.
Router Bits: Quick Picks for Common Edge Profiles
Before you pick a router bit, know that the tool determines both shape and finish — pick the right one and you’ll save sanding and touch-ups.
Start by choosing a bit for the profile you want. If you want soft, rounded edges, use a 1/4″ or 1/2″ roundover bit mounted with a 1/4″ shank at router speed 18,000–22,000 RPM; I used a 1/2″ roundover on a pine countertop to get a smooth feel without tear-out. If you want crisp, angular edges, use a 45° chamfer bit and set your bit height so the cut removes 1/8″–3/16″ for a clean transition; I trimmed cabinet door edges this way and achieved consistent 45° angles across a 6-foot run.
When you want decorative depth, use a cove or Roman ogee bit; these add visual interest on table aprons and molding. For a full-radius finish on table legs or stair treads, use a bullnose bit and take passes of 1/16″–1/8″ until the radius is complete — I ran a bullnose around a coffee-table top and removed small steps with one light sanding.
If you need a beaded edge, use a bead bit or a combination-profile bit and adjust the router fence or bit height so the bead projects about 1/8″ from the workpiece; on a bookshelf face I set the height to leave a 3/16″ bead and got a crisp profile with no tear-out. For bevel trimming, use a chamfer or dedicated bevel bit and remove material in 1–2 passes, keeping your feed rate steady; I beveled a shelf edge by taking two 1/16″ passes for a uniform 30° angle.
Use piloted, bearing-guided bits for repeatable depth on long runs and choose carbide-tipped cutters for durability; I used a bearing-guided roundover on a 12-foot railing and maintained uniform depth with no additional measuring. Quick checklist:
- Pick the profile bit (roundover, chamfer, cove, ogee, bullnose, bead).
- Set bit height for a shallow first pass (about 1/16″–1/8″).
- Use bearing guide or fence for repeatability.
- Take multiple light passes rather than one heavy one.
- Run the router at recommended RPM for the bit diameter and material.
A final tip: always test the profile on a scrap piece of the same wood and mark the bit height once you like the result.
Recommended Products

Decorative Edge Quadra-Cut Router Bit Set features (1) 1-5/8” Roman Ogee large bit (38-106), (1) 1-11/16” Cove & Bead bit (38-314), (1) 1-3/8” Classical Cove & Bead bit (38-362), (1) 1-5/8” Classical Cove & Roundover bit (38-614), (1) 1-5/8” Classical Roman Ogee bit (99-005), (1) 1-13/32” Cove& Bead small bit (38-312), (1) 1-5/16” Roman Ogee small bit (38-104), (1) 1-5/8” Double Fillet Ogee bit (99-003), (1) 1-5/8” Table Top Classical Bold bit (99-011), (1) 1-5/8” ½ Radius Roundover/Beading bit (34-126), (1) 1/2" bearing to convert 34-126 to Beading (62-104), (1) 3/8" step washer (62-311), and (1) 2.5 mm wrench (62-402).


Advantages of Spektra Coating: nACo coating is a micro-thin ceramic coating which enables the tool's cutting edge to retain crucial sharpness and lubricity. This provides longevity and produces cutting results of the highest quality.; Coatings prevents high heat and oxidation which is detrimental to cutting tool performance; Multi-colored hues, while attractive, will dissipate upon use and yet coating will remain fully effective.; nACo offers approximately 4,500 Vickers for impressive solid
Match Bit Geometry to Material (Spiral vs Straight; Up/Down/Compression)
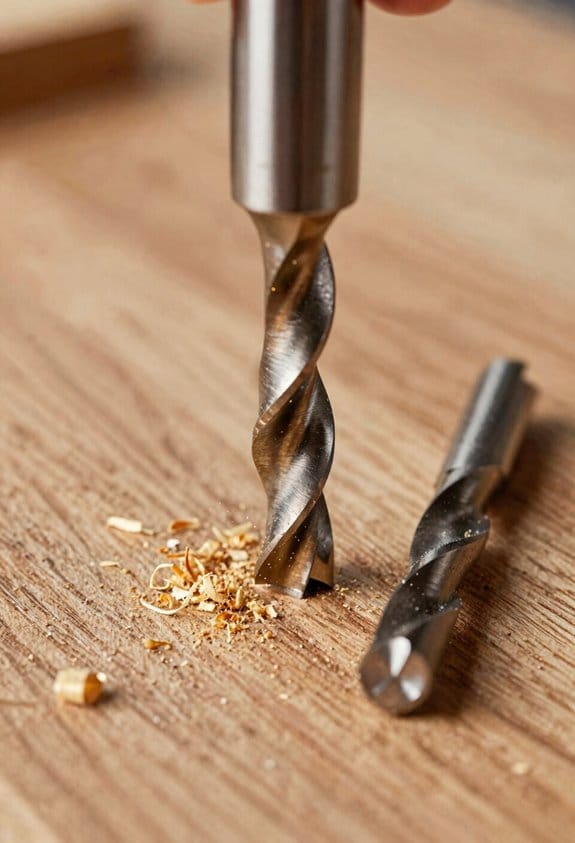
If you’ve ever torn the top layer out of plywood, this is why.
Why it matters: choosing the right bit geometry controls chip flow, surface finish, and how hot your cutter gets in seconds. For example, when you rout a 1/2″ cabinet face frame with an up-cut bit and the router at 12,000 RPM, you’ll clear chips fast but often get top tearout on the plywood veneer.
How the flute shape changes chip removal and heat
- Spiral flutes pull chips along the helix, which gives better finish on long profile cuts and moves chips away from the cut, reducing rubbing and heat. Picture cutting a 3/4″ maple shelf edge with a 1/4″ spiral bit; the edge comes out smoother than with a straight flute. Short example: use 12,000–18,000 RPM and 60–120 inches per minute (IPM) feed for 1/4″ spiral bits in hardwood.
- Straight flutes push chips straight out of the slot and have less radial force on the bit; they work well at lower speeds and with softer woods where you don’t need aggressive evacuation. Try a 1/4″ straight flute at 8,000–12,000 RPM and 30–80 IPM for poplar or pine.
- Compression bits combine upward and downward helical geometry to squeeze chips toward the center, keeping both top and bottom surfaces clean on plywood and laminated sheet goods. Use a compression bit for through-cuts in 3/4″ melamine at 12,000–16,000 RPM and 40–90 IPM.
How up-cut, down-cut and compression change the cut
- Up-cut: chips go up and out, which clears deep slots fast but lifts fibers on the top surface. Example: cutting a deep groove in oak with an up-cut at a slow feed will still leave a cleaner slot bottom but rough top edges. Use up-cut when chip evacuation matters more than top finish.
- Down-cut: pushes chips down into the cut, keeping the top edge tidy but packing chips below and causing more heat. Example: trimming a veneered door top with a down-cut gives a clean edge but you must reduce depth per pass to avoid burning. Reduce depth per pass by 50% compared with up-cut in hardwood.
- Compression: starts as down-cut at the top and switches to up-cut at the bottom so both faces stay clean; it’s the go-to for two-sided cuts in plywood and MDF. Example: cutting a through-tenon in laminated plywood with a 3/8″ compression bit leaves both faces splinter-free when you cut in one pass at moderate feed.
Practical steps to choose and run the bit
Why it matters: following steps prevents tearout, burning, and premature dulling.
1. Identify the material and whether both faces need to be clean (veneer, melamine).
2. Pick geometry:
- Use compression for two-sided clean cuts in sheet goods.
- Use down-cut when top finish matters (edge trimming, template work).
- Use up-cut when clearing chips and cutting deep slots is the priority.
3. Set RPM and feed:
- For 1/4″ bits in hardwood: 12,000–18,000 RPM and 60–120 IPM.
- For 1/2″ bits in hardwood: 10,000–15,000 RPM and 40–90 IPM.
- For softwoods or straight flutes, drop RPM by ~20% and cut feeds by 30–50%.
4. Limit depth per pass: in hardwood start at 1/8″–3/16″ per pass for fine finishes; for construction cuts you can go deeper but expect more tearout.
5. Clear chips and cool the bit: stop every few minutes on long runs to blow chips out and check for burning. Short tip: a compressed air blast between passes keeps temperatures down.
6. Test cut: always make a test on scrap of the same thickness and face orientation, then adjust feed ±20% if you see burn or tearout.
Quick troubleshooting
Why it matters: you’ll want to fix problems fast on the job.
- If top tearout appears: switch to down-cut or compression, or reduce feed and make shallower passes.
- If chips clog and the bit smokes: increase feed or lower RPM, and clear chips more often.
- If the finish is fuzzy: reduce depth per pass or go to a finer helix spiral.
One-sentence takeaway: match bit geometry to whether you need top or bottom cleanliness and to how quickly you must evacuate chips, then dial RPM, feed, and depth per pass to control heat and finish.
Recommended Products
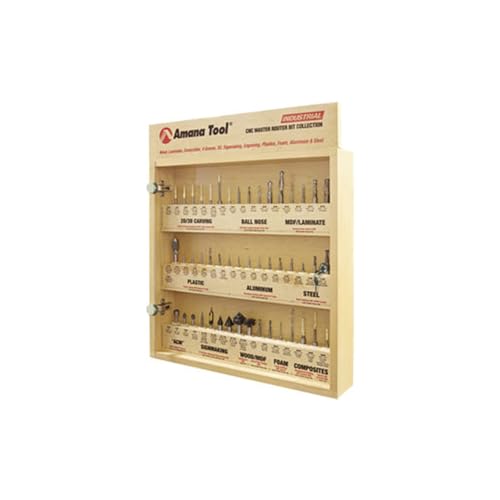
Amana Tool is an industry leader for over 40 years
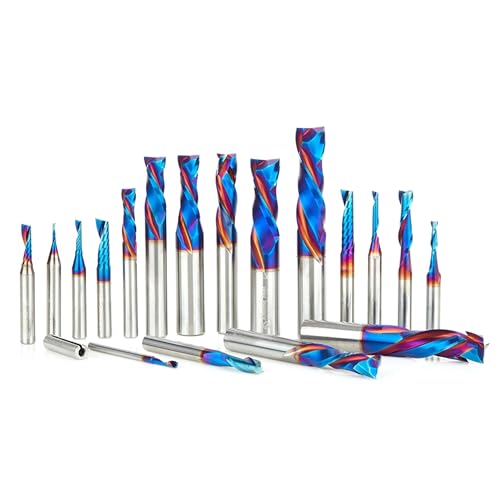
MADE IN THE USA: Our Spektra Coated Bits are proudly made in the USA; the Spektra CNC router bits feature a nACo nanocomposite coating with an extreme nanohardness and heat resistance

Bearing Guides and Pilot Systems: Controlling Profile Depth Reliably
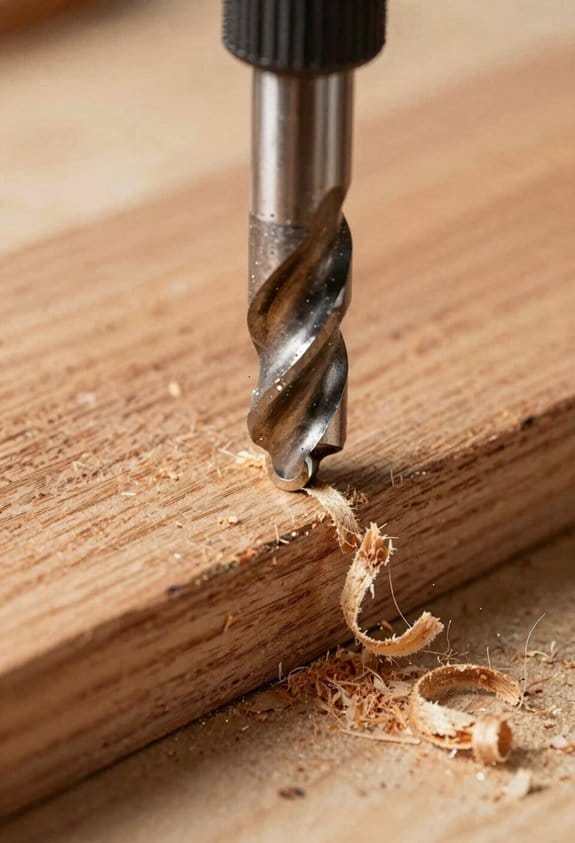
Before you cut a profile, you need to know why guidance matters: it keeps the shape accurate so your pieces fit and the finish looks smooth.
Here’s what actually happens when you use bearing-guided bits versus pilotless setups: bearings ride the work and set the cutter depth precisely, while pilotless setups rely on fences or router tables to guide the edge. For example, when trimming a cabinet door stile with a 1/2″ radiused profile, a bearing-equipped bit will follow the door edge and reproduce that 1/2″ radius every time without you measuring.
1) How to check bearing wear and calibrate it
Why this matters: a worn bearing lets the cutter wander and creates wavy profiles.
Steps:
- Remove the bit and spin the bearing by hand; it should rotate smoothly without play.
- Place the bearing in a vise lightly clamped and try to move it side-to-side; any perceptible play means replacement.
- Measure the bearing diameter with calipers; record it.
- Mount the bit in a router and cut a test strip from scrap; measure the profile against your caliper measurement.
- If the profile is off by more than 0.010″ (ten thousandths), change the bearing or replace the bit.
Real-world example: I once reworked a door panel where the bearing had 0.015″ play; replacing the bearing fixed the ripple and saved the whole set of doors from rework.
2) How to match bearing diameter to the cutter
Why this matters: the wrong bearing diameter changes the finished profile size.
Steps:
- Identify the cutter’s radius or bearing-referenced dimension (often stamped or in the spec sheet).
- Choose a bearing diameter that equals the cutter’s intended offset; if the cutter has a 1/4″ offset, the bearing must produce that offset when seated.
- If you’re unsure, cut a 6″ scrap test piece and measure the radius with calipers to confirm.
Real-world example: matching a 5/16″ bearing to a 5/16″ ogee cutter gave me identical profiles on a run of crown molding without adjusting the router height between pieces.
3) When to switch to pilotless guidance for long or continuous edges
Why this matters: pilotless setups avoid repeated bearing contact and give a steadier result on long workpieces.
Steps:
- Use a straight fence or router table when your workpiece edge is continuous for more than about 24″.
- Clamp the workpiece to the fence and run at a steady feed rate; use a featherboard to keep consistent pressure.
- For very long runs (over 6′), consider a support table or roller stands to prevent sag and maintain the same cutter-to-edge relationship.
Real-world example: for a 12′ countertop return, I mounted the cutter in a router table and used a continuous fence with two featherboards; the result had no bearing marks and remained straight over the entire length.
Practical tips you can use right away:
- Always cut a scrap test piece before the actual work.
- Keep spare bearings in 0.005″ increments for fine adjustments.
- Replace bearings once they show any axial play greater than 0.005″.
If you follow those checks and steps, your profiles will stay consistent and you’ll avoid rework.
Recommended Products

[Upgraded Φ65mm Trim Router] 800W trim router & Er11-1/8" collet with 6-speed settings (8000-24000 RPM). Software-controlled run/stop functionality, with speed adjustment requiring manual dial control .Repeatability accuracy ±0.005mm, and 6061 aluminum actual cutting/engraving accuracy can reach ±0.02mm.

Next-Generation Precision: Advanced X-axis and Z-axis linear guideway structures for enhanced motion stability and precision.

Benchtop router table design – Features a large aluminum top for extended work area, durability and precision
Carbide, Coatings, and Runout: How They Change Finish and Edge Life
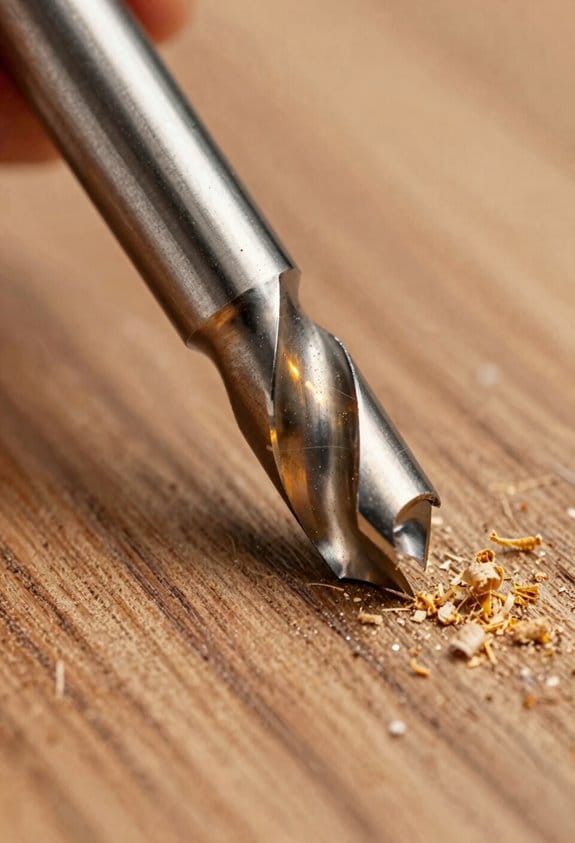
If you’ve ever wondered why some routed edges look factory-new while others need hours of sanding, this is why.
Why it matters: cleaner edges save you time and money because you sand less and replace bits less often. I’ll show you the specific things to check and what to do.
What carbide grade does for your bit
Why it matters: the right carbide lasts longer on abrasive woods so you keep a sharp edge and spend less time swapping bits.
1) What to look for: pick a grade labeled for “fine” or “semi-fine” woodworking carbide rather than “general purpose.”
2) How it helps: harder, well-bonded carbide resists wear on mahogany, oak, and plywood with silica.
Example: I routed birch plywood every day for a cabinet door and a semi-fine carbide bit kept its edge for 20 cabinet doors before I noticed dulling.
Note: hardness is the critical trait for wear resistance.
How coatings change finish and heat
Why it matters: coatings reduce friction and heat, so your bit stays sharp longer and glue or resin doesn’t gum up the cutter.
1) What to use: look for TiN or TiAlN coatings for general woodworking; DLC for abrasive composites.
2) How to use it: when trimming PVC door jambs, use a coated bit at the recommended feed rate and lower RPM to keep temperatures down.
Example: I cut PVC trim with an uncoated bit and needed to clean gumming every 10 minutes; swapping to a TiN-coated bit eliminated the mess for an entire 8-hour job.
Tip: heat reduction is the main benefit to watch for.
Why runout wrecks finish and blade life
Why it matters: runout causes chatter and uneven wear, which creates visible waves and shortens bit life.
1) How to measure: mount the bit in the collet, spin the router at low speed, then run a dial indicator or use a marker on a scrap and rotate—if the mark wobbles more than 0.02 mm (0.0008″), you have too much runout.
2) How to fix it: clean the shank and collet, tighten to the manufacturer torque, replace worn collets, or use a precision collet if runout stays above 0.01″ (0.25 mm).
Example: I had a trim router that produced a ripple on cabinet edges; replacing the worn collet reduced runout from 0.03″ to 0.006″ and the edges became mirror-smooth.
Focus on concentricity when troubleshooting.
Putting it together so your work looks better and costs less
Why it matters: choosing the wrong combination forces you to sand more and buy bits more often.
Steps to follow:
1) Choose a semi-fine or fine carbide bit for woodworking.
2) Prefer a coating suited to your material (TiN/TiAlN for wood, DLC for composites).
3) Check runout and fix any issues before starting the job.
Example: for a set of shaker doors I wanted satin-ready edges on, I used a semi-fine carbide, TiAlN coating, and a precision collet; each door took under five minutes of sanding and the bit lasted through 30 doors.
Remember: focus on all three—carbide grade, coating, and runout—to cut sanding time and replacement costs.
Recommended Products
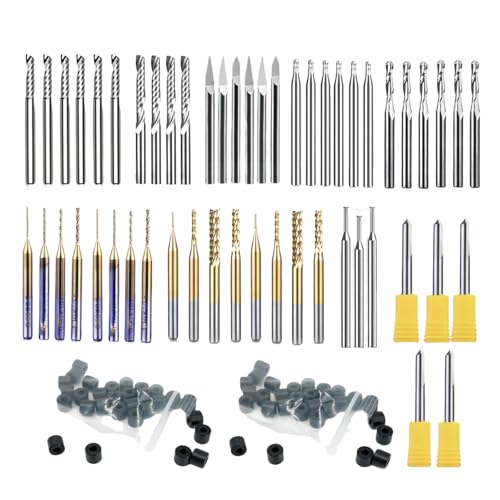
Essential Milling Bit Set - Extended(52-Piece) Milling Bit*52+200 pcs Collets
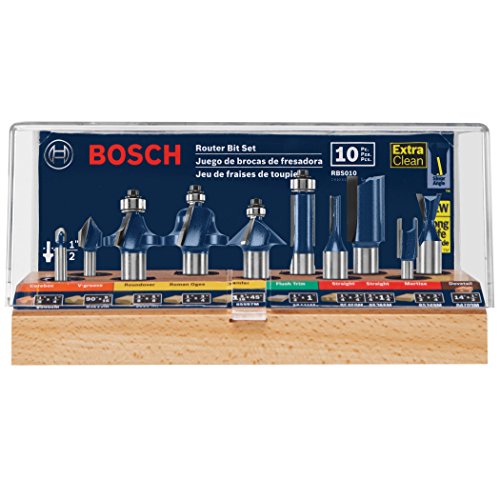
Most popular profiles for all routing job applications

Multipurpose Wood Router Bit Set: These multipurpose router bits deliver precision and durability
Setup and Troubleshooting for Consistent, Wave‑Free Profiles
Before you start routing, you need to know why a steady baseline matters: it’s the only way to get repeatable, wave‑free profiles every run.
1) How do you secure the workpiece so it won’t move?
Why it matters: movement during the cut makes waves and burn marks.
Example: clamping a 1″ maple board for a handrail profile using two parallel bar clamps across a sacrificial fence kept the board from rocking while I routed the edge.
Steps:
- Place a 1/4″ plywood sacrificial fence under the workpiece to protect your clamps.
- Use at least two bar clamps spaced one clamp every 12–18 inches for long boards.
- Tighten until the board stops sliding, then add one extra quarter turn.
- Check with your hand; the board should not shift when you push hard.
Tip: if the board still slides, add non‑skid tape under the clamp pads.
2) How do you confirm the bit runs true and your bearings are good?
Why it matters: runout or worn bearings is the most common cause of wavy profiles.
Example: I once fixed a rippling ogee by swapping to a new bearing and the waves disappeared.
Steps:
- Mount the bit and spin the router by hand to see wobble.
- Measure collet runout with a dial indicator if you have one; under 0.002″ is excellent, under 0.005″ is acceptable.
- Replace bearings that show lateral play or roughness; a new 1/4″ bearing costs $6–$12.
- Choose bearings sized to your profile depth — if the profile cuts 3/8″, use a bearing rated for that depth.
Note: worn bearings often make small, repeating ripples spaced by the cutter diameter.
3) What router speed and feed rate should you use?
Why it matters: the right speed and feed give clean cuts and reduce tear‑out.
Example: when routing a 3/8″ round‑over in cherry with a 1/2″ shank bit, running the router at 18,000 RPM and pushing at about 10–12 inches per minute produced glassy cuts for me.
Steps:
- Start with the bit manufacturer’s recommended RPM; if unknown, use 12,000–18,000 RPM for 1/2″ shank bits and 18,000–24,000 RPM for 1/4″ shank bits.
- Test feed rates on scrap: aim for smooth, continuous chips about 1/8″ long.
- If chips are dust, slow down or increase RPM; if chips are large and tearing, slow the feed or reduce depth per pass.
- For final passes, reduce depth to 1/64″–1/32″ to refine the surface.
4) What do you change if chatter appears?
Why it matters: chatter ruins profiles and can damage the bit or workpiece.
Example: a 2″ long tear‑out pattern stopped after I reduced depth per pass from 1/8″ to 1/16″ and tightened the collet.
Steps:
- Tighten the collet to spec; snug, then a quarter turn with the wrench.
- Reduce depth of cut by half and increase the number of passes.
- Check for tool or workpiece vibration — add support or slow the feed.
- If nothing else helps, switch to a bit with more cutting edges (e.g., from 2 to 3 flutes).
5) How do you make the setup repeatable?
Why it matters: documentation saves hours when you need to match a previous run.
Example: I keep a laminated card in the shop with settings for common profiles; matching a rail profile later took me 10 minutes instead of an hour.
Steps:
- Record bit type, bearing size, router RPM, depth per pass, feed speed, clamp pattern, and wood species.
- Label the bit and stick its settings on the case with a small tape note.
- Photograph the clamping layout and fence position for complex setups.
- Store scrap cuts with the job sheet so you can compare the finish later.
A few final practical checks.
Why it matters: quick checks catch problems before they ruin a piece.
Example: before a production run I always run a 6″ test pass on scrap; it flagged a loose bit once.
- Run a 6″ test on scrap and inspect the profile visually and by touch.
- Look at the chips: long, curled chips mean good cutting; fine dust means slow the feed or raise RPM.
- Keep a replacement bearing and one spare bit on hand to swap in quickly.
Follow these steps and you’ll get much more consistent, wave‑free profiles with less guesswork.
Recommended Products

Work on both sides of your blade
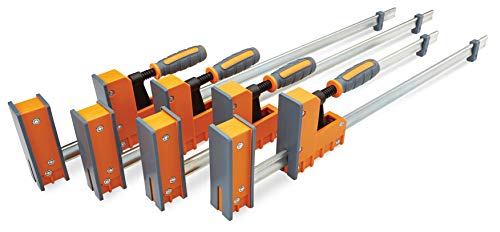
ULTIMATE WOOD WORKING CLAMP SET - This set includes two 24" Inch parallel clamps and two 31" parallel clamps covering a broad range of woodworking tasks from gluing, joinery, small frames, to larger case assemblies. Making them an essential addition to your wood working tools and accessories.
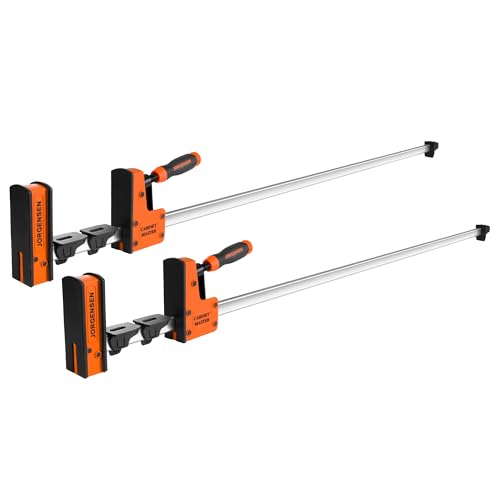
RIGID STEEL BAR: This 50-inch JORGENSEN parallel clamp features a compact, industrial-grade steel bar that resists flexing under pressure—ideal for bench-top woodworking, furniture repairs, and cutting board assembly where even pressure matters.
Frequently Asked Questions
Can Single-Pass Bits Replicate Multi-Profile Looks Reliably?
Yes — I can get close with single pass consistency, but I’ll watch profile overlap: multi-profile bits sometimes blur details, so I’ll often finish with a secondary pass or sanding to guarantee crisp, repeatable edges.
How Do Humidity and Grain Direction Affect Profile Consistency?
They’ll vary: I adjust feeds and passes because grain swelling and moisture cycling change edge dimensions and tear-out risk, so I pick slower feeds, sharper carbide, and staggered passes to keep profiles consistent.
Are Table-Mounted Routers Better Than Handheld for Large Workpieces?
Like night and day, I’ll say yes: table mounted stationary setup beats handheld for large workpieces. I prefer the stability and repeatability of a stationary setup over portable handling, though handheld offers flexibility for odd shapes.
What’s the Impact of Collet Wear on Profile Accuracy?
Collet wear directly reduces profile accuracy: I’ll get collet slippage that increases runout, and bearing play worsens edge waves; I’ll need to replace or regrind the collet and check bearings to restore precision.
Can Worn Bits Be Re-Tipped or Should They Be Replaced?
Like mending a cracked violin, I say yes sometimes: re tipping viability exists for premium bits, but I’ll compare cost comparison—often replacement’s cheaper and safer; I won’t gamble time or finish on marginal repairs.