
You run your hand along a new cabinet and can’t decide whether the edge should be crisp or soft — the question is whether to use a chamfer or a roundover. You’ve stared at photos and felt the pieces in stores and still can’t picture which edge will suit your project.
Most people assume the choice is purely aesthetic and swap styles without considering function or wear. This introduction will show you how chamfers and roundovers change light, touch, and durability, and how to pick the right size so your furniture looks intentional and lasts longer.
You’ll also get clear guidance on tool setups and exact edge dimensions to use. It’s simpler than you think.
Key Takeaways
Think of edges like the clothes your furniture wears.
Chamfers create crisp highlights and precise silhouettes, so your piece will read sharp and architectural. Why that matters: sharp edges catch light and define form, which helps a minimalist cabinet look deliberate from across a room. Example: a low credenza with a 1/8″ chamfer on all vertical edges will look like a modern design element under living-room lighting.
Before explaining how, here’s why roundovers matter in one sentence: roundovers make furniture feel friendlier and hide small damage. A 1/8″ or 3/16″ roundover on a table edge spreads highlights and softens the profile, which is why a dining table with that radius feels inviting to touch. Example: a kitchen island with 3/16″ roundovers on the countertop edges reads warm and casual when you run your hand along it.
The difference between small and large radii comes down to how much form you want to keep. Small radii (1/16″–1/8″) or a 1/8″ chamfer keep a crisp silhouette and show the design lines; larger radii (1/4″–3/8″ or more) hide dings and read more casual. Example: a coffee table with a 1/4″ radius will hide a toddler’s scuffs much better than the same table with a 1/16″ edge.
If you’ve ever finished a piece, this explains finish behavior in one sentence: edge profile changes how finish pools and how it wears. Tight 90° edges tend to pool finish and can flake; easing edges by 1/32″–1/16″ prevents pooling and helps finish wear evenly. Example: when finishing a bookshelf, sand a 1/32″ eased edge to reduce finish buildup and avoid visible drips after staining.
Here’s what actually happens when you choose scale and viewing distance: the larger the piece or the farther away people will view it, the larger the edge profile should be. Use these practical numbers: for furniture viewed at arm’s length (desks, bedside tables), stick to 1/16″–3/16″ edges; for pieces seen across a room (sofas, large cabinets), use 1/4″–3/8″ radii or 1/4″ chamfers. Example: a TV console meant to be seen from 10–15 feet will read better with 3/8″ roundovers than with micro-edges.
How to choose and implement edges — steps:
- Decide the look you want: crisp/architectural or soft/friendly.
- Match scale: for close-up pieces use 1/16″–3/16″; for distant pieces use 1/4″–3/8″.
- Test on scrap: rout or chamfer a scrap at the chosen size and hold it at viewing distance.
- Ease all hard 90° edges by 1/32″–1/16″ to prevent finish pooling.
- Re-evaluate after staining: if highlights read too sharp, increase radius by 1/16″.
One concrete tip: if you’re unsure, start with a 1/8″ roundover and a 1/32″ eased edge on exposed corners; it’s a safe middle ground that balances crispness and durability.
What’s the Difference Between a Chamfer and a Roundover?
Think of a chamfer like a sliced-off corner and a roundover like a worn, smooth edge.
Why this matters: the shape you pick changes how your piece looks, feels, and holds up.
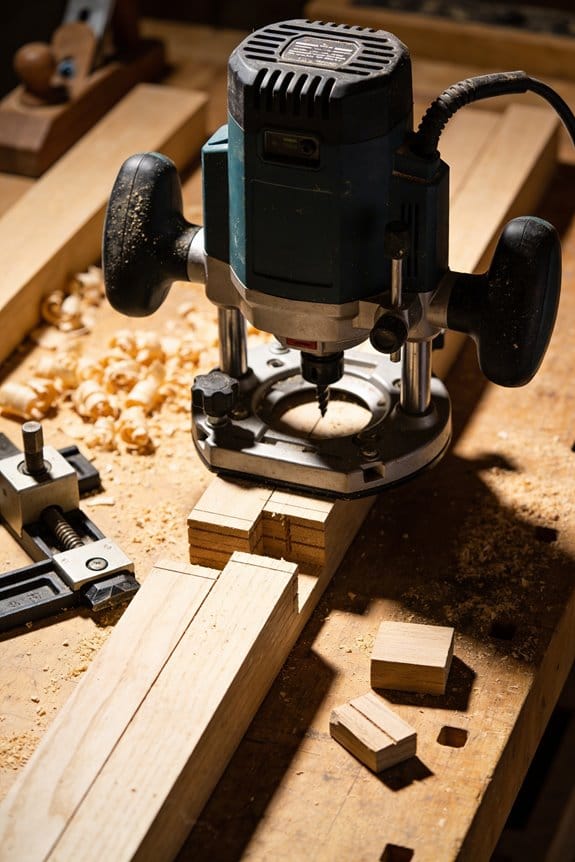
A chamfer cuts a straight, beveled facet between faces — usually at a set angle such as 45° or 30°. For example, if you’re trimming a tabletop corner for a modern look, cut a 1/4″ chamfer at 45° along both edges; the flat plane reads as a crisp line from across the room. How to make one: 1) Mark the width (1/8″–1/2″ depending on style). 2) Use a hand plane, block plane, or a router with a straight bit and fence. 3) Sand lightly at 120–150 grit. The result preserves clear edge geometry.
A roundover removes the corner with a smooth radius, blending the two faces into a continuous curve. Why this matters: rounded edges feel safe and comfortable for hands. For example, on a kitchen island where kids will sit, use a 3/8″ roundover bit on your router and pass twice at moderate feed speed for a gentle curve. How to make one: 1) Choose the radius (1/8″–3/4″ common). 2) Fit a roundover router bit of that radius and use a guide or fence. 3) Finish with 220 grit and a wipe of oil or finish. The profile flows without a flat plane.
When to pick which:
- Choose a chamfer when you want precision, to echo geometric details, or to keep a sharp visual break; common on cabinet doors and picture frames.
- Choose a roundover when you want comfort, softer light catch, or safer edges; common on tabletops, railings, and kids’ furniture.
Quick practical checks:
1) If your piece needs to read crisp from across the room, go chamfer.
2) If people will touch it often, go roundover.
If you want a hybrid, use a small chamfer then a tiny roundover (for example, 1/8″ chamfer + 1/16″ roundover) to get a controlled edge that still feels soft.
How Chamfers and Roundovers Affect Silhouette and Light
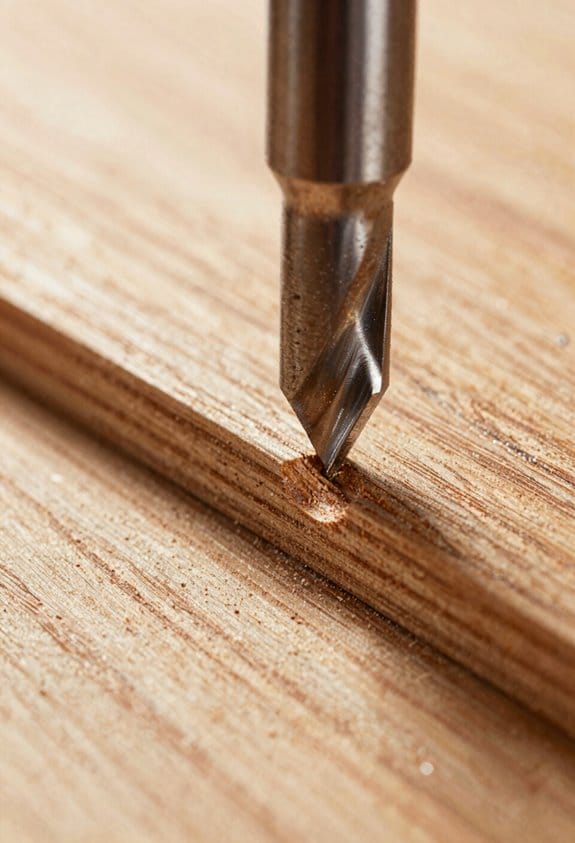
If you’ve ever glanced at a chair or table and wondered why it looks sharp or soft from across the room, this is why.
Why it matters: your edges control the silhouette and how light defines shape. Chamfers and roundovers change that in predictable ways, so choosing the right one affects perceived quality, scale, and how the piece reads under natural light.
How a chamfer changes silhouette and light
Why it matters: a chamfer creates a flat plane that throws a narrow, bright reflection, so corners read sharper and lines look more precise.
Real-world example: a 1/8″ (3 mm) chamfer on a modern dining table apron will produce a thin highlight that reads as a crisp edge from 6–10 feet.
Steps to use chamfers:
- Decide size: use 1/16″–1/8″ (1.5–3 mm) for subtle definition, 1/4″–3/8″ (6–10 mm) for a visible design statement.
- Cut angle: 45° is standard; set your router bit or plane to remove that flat consistently along edges.
- Test at distance: place the piece where it will live and view from typical seating positions to confirm the highlight reads as you want.
A chamfer also helps hide small dings because knocks catch on the flat instead of rounding the corner into a nick.
How a roundover changes silhouette and light
Why it matters: a roundover softens transitions so highlights spread and edges read gentler, which makes forms look friendlier and less brittle.
Real-world example: a 1/8″ (3 mm) roundover on a bedside table edge softens touch and broadens the specular highlight so the piece reads warm in ambient bedroom light.
Steps to use roundovers:
- Pick radius: 1/16″–1/8″ for subtle smoothing, 1/4″–1/2″ for a visibly soft profile and safer corners.
- Choose tooling: use a roundover bit or sand a continuous curve; keep the profile consistent along visible edges.
- Check ergonomics: run your hand along the edge to confirm comfort and visual softness from 4–8 feet.
A larger radius also reduces felt sharpness and is safer around kids.
Balancing scale and viewing distance
Why it matters: the same profile can vanish or dominate depending on size and how people view the piece.
Real-world example: a 3/8″ (10 mm) roundover on a small nightstand reads bulky from across a living room, while on a large credenza it reads intentional and balanced.
Steps to match scale:
- Measure typical viewing distance: 3–6 feet for bedside or desk, 6–12 feet for living room furniture.
- Scale profile proportionally: for close-view pieces use 1/16″–1/8″; for large or long-distance pieces use 1/4″–3/8″ or more.
- Mock up with tape or scrap wood to preview before committing.
If you want precision, stick to shallow chamfers; for comfort and softer aesthetics, pick small roundovers.
Quick practical rules of thumb
Why it matters: simple rules speed decision-making without testing every option.
Real-world example: a kitchen island that gets leaned on benefits from a 1/4″ roundover to avoid wear and discomfort.
- Use 1/16″–1/8″ for discreet definition.
- Use 1/4″–3/8″ to make edges visible from a distance.
- Use roundovers for touch comfort and chamfers for crisp geometry.
Make a small sample board with each profile and view it from the room before finalizing; you’ll see which one reads best.
Quick Decision Guide: When to Choose Chamfer vs Roundover
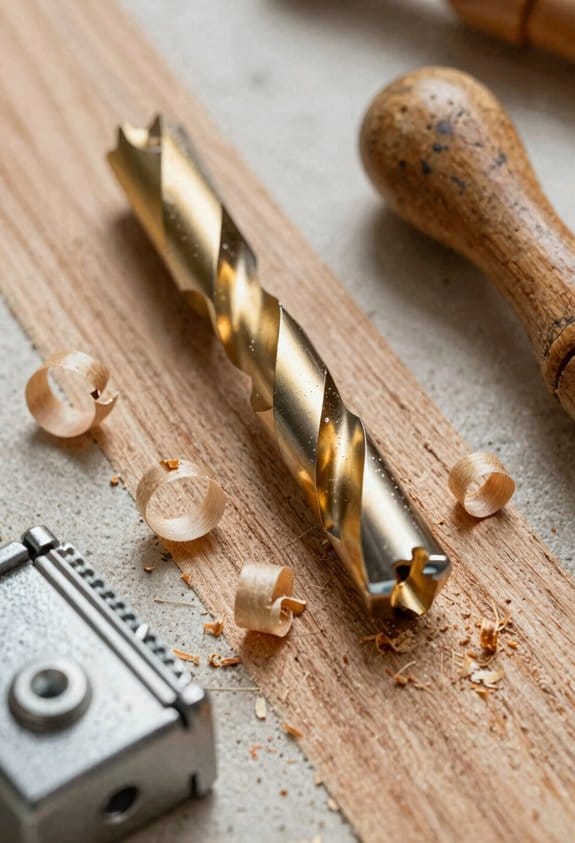
If you’ve ever tried to pick an edge profile and felt stuck, this will help.
Why it matters: the edge you choose changes how the piece looks, feels, and wears.
Choose a chamfer when you want a crisp, deliberate edge that shows hierarchy and keeps carved detail. A 1/8″ or 3 mm chamfer works well on tabletops and frames to catch light without looking heavy. Example: on a walnut picture frame, a 3 mm chamfer keeps the carved inner bead readable and gives a clean highlight on the face. How to do it: 1) mark a 3 mm line from the edge, 2) run a block plane or 45° chamfer bit in one pass, and 3) sand with 220 grit. Test on scrap first to avoid tear-out. Use dense woods like maple or walnut so the facet stays sharp.
Pick a roundover when touch and safety matter more because a radius blends faces and resists splintering. A 1/8″ (3 mm) roundover on a table edge is comfortable for hands and reduces dings. Example: a pine kids’ table with a 3 mm roundover survives knocks and feels soft to the touch. How to do it: 1) choose a 1/8″ router bit, 2) make two light passes rather than one deep cut, and 3) finish with 220 grit sanding. Softer woods prefer roundovers to avoid tear-out.
Consider material compatibility because wood density affects the result; dense woods hold sharp chamfers, softer woods tear out. Example: mahogany needs a single steady chamfer pass; poplar will tear unless you back-cut or use a roundover. How to test: 1) cut the profile on scrap of the same board, 2) apply your finish, and 3) rub the edge for 100 cycles to check wear.
Match treatment to style and function: small radii read modern; shallow chamfers read precise. Example: a modern bedside table uses a 1.5 mm radius to keep a sleek look, while a craftsman bookshelf uses a 2 mm chamfer to show craft. Quick checklist: – For safety and durability: 1/8″ roundover. – For visual hierarchy and precision: 1/8″–3 mm chamfer. – For modern minimalism: under 2 mm radius.
When in doubt, test on scrap stock, evaluate wear, finish adhesion, and how the edge fits the whole design.
Recommended Products
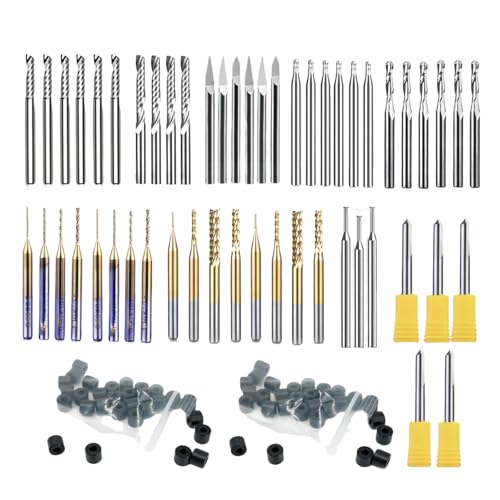
Essential Milling Bit Set - Extended(52-Piece) Milling Bit*52+200 pcs Collets
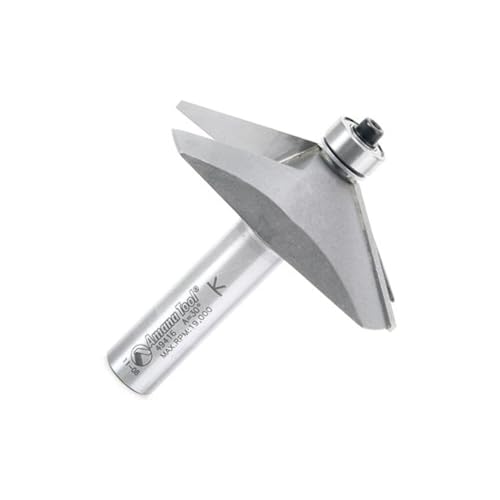

TOOL SPECS: Carbide-tipped chamfer bit with 45° angle, 1-1/2" cutting length, 1-1/16" cutting height, 1/2" shank, and 2-5/8" large diameter for use with 1/2" collets.
When to Pick Chamfering for Style and Structure
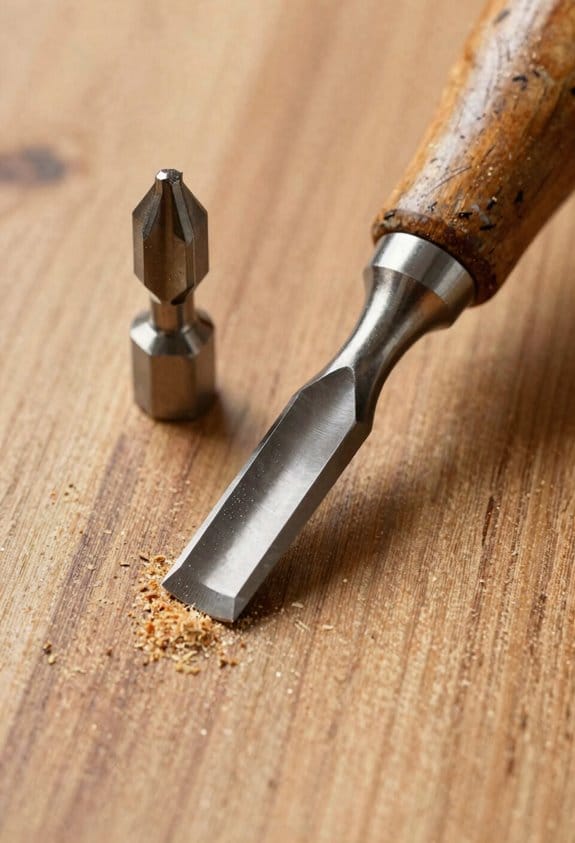
If you’ve ever stared at a sharp corner and worried it would chip, this is why.
You want chamfers because they make edges read clearly and keep geometry crisp; that matters when you need lines to show up in photos or when parts must fit tightly. For example, on a bookshelf with routed crown and thin shelves, a 1/8″ (3 mm) chamfer on the shelf front keeps the profile sharp in photos and prevents the paint from peeling at the edge.
Why it matters: chamfers control light and reduce stress at corners in one move.
Use chamfers when you need precise, architectural clarity rather than a soft, rounded look. For instance, on a cabinet face frame with 3/4″ stock, lay out a 45° chamfer of 1/8″ to 1/4″ (3–6 mm) on the visible edges so the joint lines read even under overhead lighting. That small bevel gives a crisp highlight and protects the corner from dings.
How to cut a chamfer by hand (real steps you can follow):
- Mark the bevel: scribe a 1/8″ or 1/4″ line along the edge depending on the look you want.
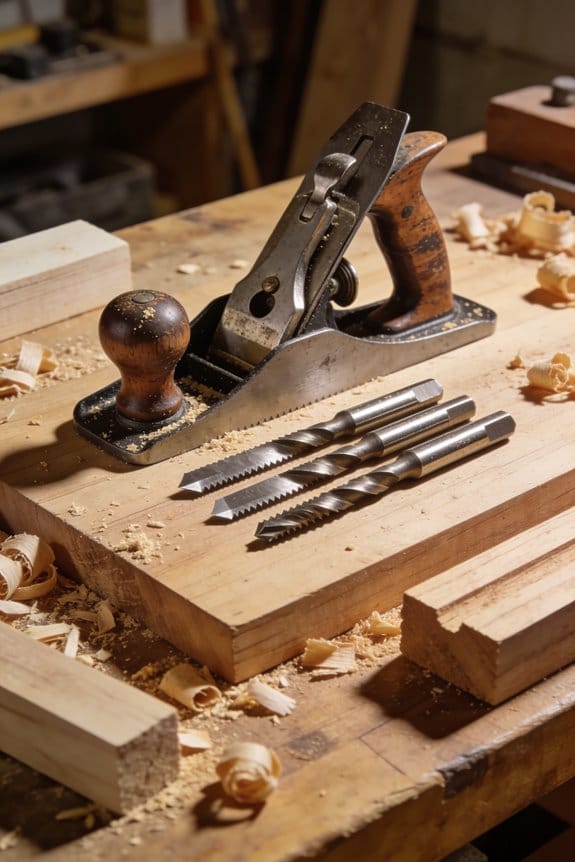
- Use a block plane held at about 45° and take light passes until the chamfer meets your scribe line.
- Smooth with a 120–220 grit sanding block across the bevel to remove plane marks.
Example: I used a 1/8″ chamfer on a walnut jewelry box; marking and three plane passes took five minutes and stopped the corners from chipping during shipping.
Where chamfers help structurally: a bevel spreads impact away from a single corner, so components last longer in use. On joints and narrow moldings, a small chamfer keeps the profile legible—use a 1/16″–1/8″ bevel on narrow trim so the detail doesn’t blur.
When routers struggle with curves, shape variable-width chamfers with rasps or a block plane following these steps:
- Establish low spots with a pencil line to guide where the bevel should change.
- Remove material with a rasp, working toward the pencil line.
- Refine with a plane or file, then sand to finish.
Real example: I followed a flowing 2″ radius on a stair handrail by rasping the chamfer to match the curve, which preserved the rail’s visual rhythm.
Finish and adhesion: chamfers make finishes sit evenly on edges because paint and varnish don’t build up as badly; for painted work use a 120-grit sand, then scuff with 220 before priming. A painted 1/8″ chamfer on a door edge prevents unsightly drips and promotes even coverage.
When not to use a chamfer: skip it if you want a soft, ergonomic edge—choose a 1/8″–3/8″ radius instead. Small chamfers look hand-made and refined; larger ones read as intentional architectural detail.
Pick chamfers when you need precision, visible lines, and a little extra edge protection.
Recommended Products

Powered by two LXT batteries; x2 LXT technology delivers more power, speed and run time without the hassles of a cord
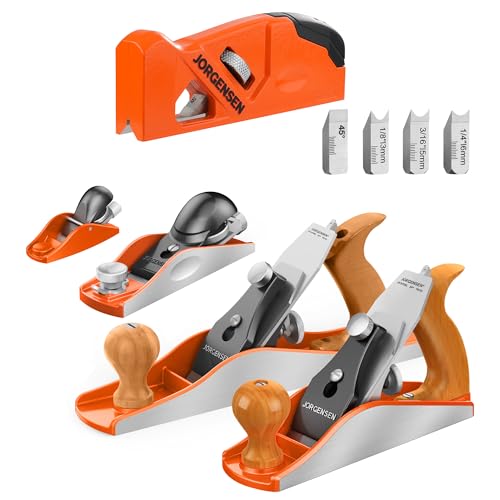
JORGENSEN Mini Wood Planer: Ideal for precise adjustments and finishing, particularly in tight spaces where larger tools may not fit

SPECS - EZECHM-21 | EZ Edge Corner Plane | 45° Chamfer | V-Shaped Sole | Depth Control Knob | Includes Rack-It Storage Mount | USA Made
When to Pick Roundovers for Comfort and Modern Looks
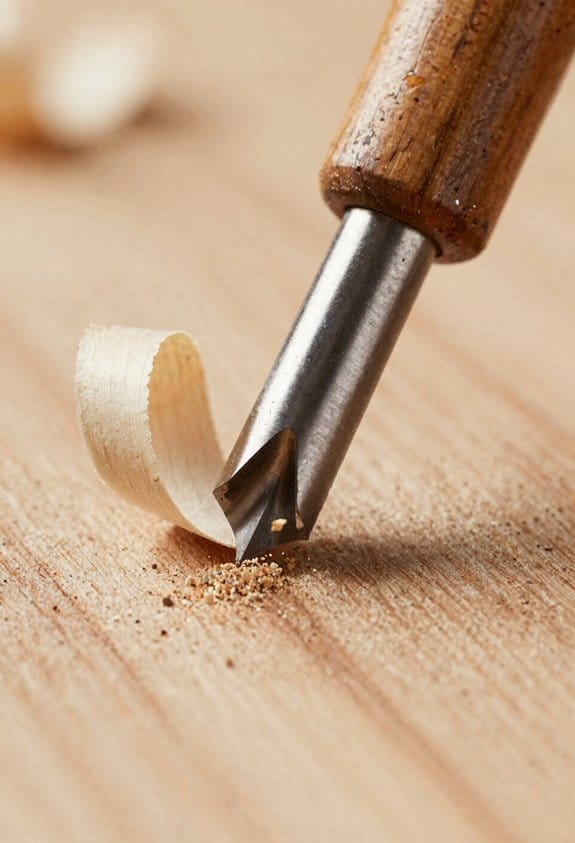
Here’s what actually happens when you pick a roundover for an edge: it turns a sharp corner into a smooth radius, so your pieces feel friendlier to the hand and show a contemporary look.
Why this matters: a rounded edge reduces the chance of splinters and spreads wear, so the piece lasts longer. Example: a dining table with a 3/16″ radius roundover stops knives from nicking the edge and feels comfortable when you lean your forearm on it.
How to choose the radius (step-by-step):
- Decide the function first: seating and tabletops need comfort; accent pieces can be a little crisper.
- Pick a radius size: 1/16″–1/8″ keeps edges crisp; 3/16″–1/4″ gives a soft, modern feel; 3/8″–1/2″ reads casual and cushioned.
- Match scale to piece: on a narrow shelf use 1/16″–1/8″; on a coffee table try 1/4″.
- Test on a scrap: route one edge at each radius and hold them for 30 seconds; choose the one you naturally prefer.
Real-world example: on a walnut bench I routed a 1/4″ radius—people sat down without flinching and fingerprints smoothed out over months.
If you want a minimal, contemporary look, pick a subtle roundover that keeps your silhouette strong.
Why this matters: small radii keep forms crisp and read clean against flat surfaces. Example: a floating media cabinet with a 1/16″ radius maintains a sharp profile while still removing the blade-like corner.
Practical tips for routing:
- Use a bearing-guided roundover bit sized to the radius you picked.
- Run the router against the rotation for control, make two light passes rather than one heavy pass.
- Sand with 220-grit after routing to remove tool marks.
Real-world example: I used a 1/8″ bit on maple nightstands and did two passes at 1/8″ depth each; the finish went on smoothly and edges stayed defined.
If the piece will see heavy use, choose a slightly larger radius.
Why this matters: larger radii reduce stress concentrations and hide dents better. Example: a kitchen island with a 3/8″ roundover survived years of dropped pans with only minor wear.
Final quick rule: smaller radii for crisp, modern silhouettes; larger radii for comfort and durability.
Recommended Products

Amana Tool is an industry leader for over 40 years

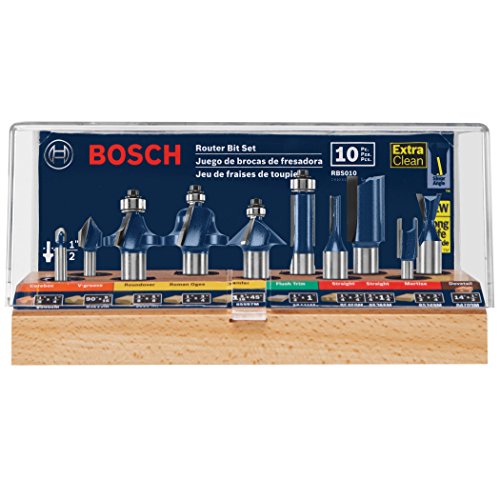
Most popular profiles for all routing job applications
Tools and Steps for Making Chamfers and Roundovers
If you’ve ever nicked an edge and wondered how pros make them look clean, this matters because consistent chamfers and roundovers stop splinters and improve how a piece feels.
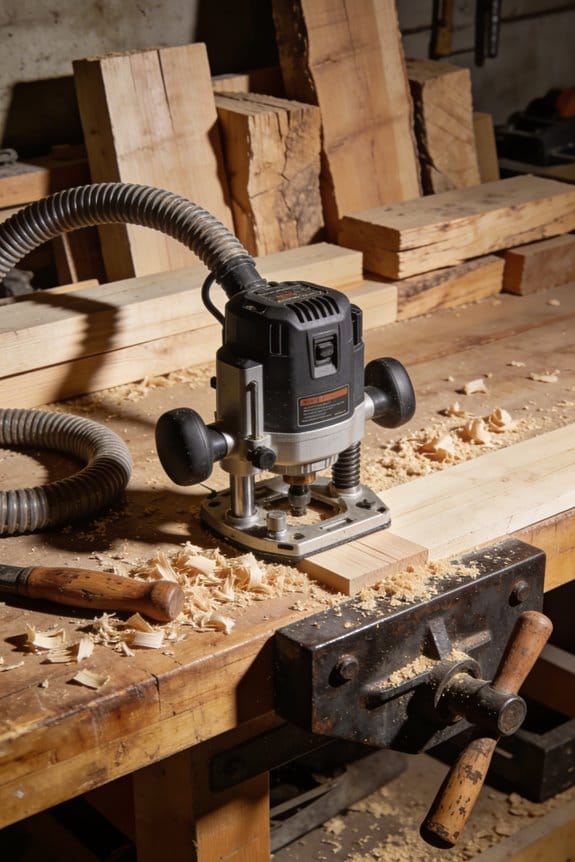
I start by choosing a tool that matches the cut you want: a 45° chamfer needs either a router with a 1/4″ or 1/2″ chamfer bit or a block plane set to remove about 1/8″ off the edge, while a 1/8″ radius roundover uses a 1/8″ roundover router bit or a spokeshave set shallow. Real example: on a kitchen shelf I used a 1/2″ router bit and a full fence, which gave a clean 45° edge that fit the cabinet face exactly.
Why the setup matters: you want repeatable cuts and minimal tearout so finishes go on smoothly.
1) Router setup — do this in order:
- Pick the right bit: 1/2″ shank for stability, choose 1/4″ for tight work.
- Mount the bit and set depth by measuring from the bit crown to the fence; mark 1/8″ increments on the fence for reference.
- Lock your fence and the router speed (16,000–20,000 RPM for most bits).
- Make two test passes on scrap at your planned feed rate; adjust depth by 1/32″ if you see burn or tearout.
Example: I dialed in a 3/32″ cut on maple by testing on a scrap 2×4.
For hand tools — here’s why handwork is useful: you get tactile control for small or delicate pieces.
1) Start with a file to define the plane or radius, removing most material in 1–2 strokes.
2) Move to a rasp to blend the facet and shape the curve; work along the grain when possible.
3) Finish with sandpaper: 120 grit to remove rasp marks, then 220, and finally 320 for a silky feel.
Real example: on a picture frame I removed 1/16″ with a file, shaped with a rasp, then sanded through 220 and 320 for a paint-ready edge.
Sanding progression — this keeps radii uniform and hides tool marks.
1) Clamp the work and use a sanding block for flat chamfers; use a dowel wrapped in sandpaper to maintain a consistent roundover.
2) Sand in this order: 80–120 grit to shape, 180–220 to smooth, 320 to refine.
Example: I used a 3/4″ dowel wrapped with 180 grit to keep a 1/8″ radius consistent on a handrail.
Final inspection — this confirms readiness for finish and fit.
1) Look for chatter: use raking light across the edge; any ripples mean reduce feed or depth by 1/32″.
2) Check rounding consistency: measure radii at three spots with calipers or compare against your dowel.
3) Feel the edge: if it still bites, repeat a light pass with 320 grit.
Example: on a table edge I found a 0.015″ high spot and corrected it with one light pass of the router at 1/64″ less depth.
Quick tips you can use right away:
- Use scrap to test every change.
- Mark fence depths in 1/32″ steps.
- For softwoods, slow your feed to avoid tearout.
Follow those steps and you’ll get repeatable, clean edges that fit both function and style.
Recommended Products

20,000 RPM motor, rear exhaust. Composite motor housing. Includes Universal trim router housing


Devotion to consistently providing the highest quality
How Edge Size Affects Perceived Craftsmanship and Finish
If you’ve ever picked up a piece of furniture and noticed something felt “off,” this is why. Why it matters: the size of an edge changes how skilled the piece looks and how the finish behaves.
How edge scale changes perception
- A small 1/8″ roundover keeps lines crisp and reads as precise; a 3/8″ radius looks more casual or traditional.
- A narrow 1/16″ chamfer reflects light like a fine highlight and reads handmade; a 1/4″ chamfer reads bold.
Example: Hold a maple cutting board with a 1/8″ roundover next to one with a 1/2″ roundover — the small radius feels sharp and deliberate, the larger feels soft and approachable.
How edge size affects finish
Why it matters: edge geometry influences stain uptake, finish buildup, and durability.
- Tight, sharp edges (less than 1/32″) tend to show finish buildup and can snag stain or paint.
- Eased edges (1/8″–3/16″) accept finish evenly and reduce visible buildup.
Example: I refinished a pine table with a 1/16″ sharp edge and the varnish pooled; when I reworked the edge to 3/16″ the varnish leveled uniformly.
Practical steps to choose and create edges
Why it matters: choosing the right size keeps your work durable and appropriately styled.
- Decide style: pick 1/8″ roundover for precise, modern work; pick 3/8″–1/2″ for casual or vintage looks.
- Consider wear: for tabletops and handrails use 3/16″–1/4″ eased edges to resist chipping.
- Test on scrap: rout or sand edges on the same wood and apply your finish to see how it behaves.
Example: Before routing shelf fronts I rout a 3/16″ roundover on scrap poplar and spray my lacquer — if the sheen is uneven I adjust to 1/8″ or 1/4″.
How to sand or route without ruining the edge
Why it matters: technique determines final sheen and edge crispness.
- Use the right bit: employ a dedicated 1/8″ roundover bit or a chamfer bit sized to the measurement you want.
- Hand-finish the corner: after routing, sand with a sanding pad and a vertical stroke to keep the profile clean.
- Remove burrs: run a 3/0 or 4/0 synthetic abrasive gently across the edge to avoid rounding it more than desired.
Example: I route cabinet doors with a 1/8″ roundover bit, then finish with 220 grit by hand; the doors keep a crisp line and accept stain evenly.
Final decision checklist
Why it matters: this checklist saves you rework and finish problems.
- Pick style: modern = 1/8″, casual = 3/8″–1/2″.
- Pick durability: high-use = 3/16″–1/4″.
- Test on scrap with your finish.
Example: For a coffee table I chose a 3/16″ eased edge, tested it with oil finish on poplar scrap, and the result resisted chips and showed consistent sheen.
Frequently Asked Questions
Can Chamfers or Roundovers Hide Minor Wood Defects?
Indeed — like a Victorian cameo, I can use chamfers or roundovers to conceal blemishes and mask tearout; I’ll admit they help hide minor defects, though deep damage still needs repair for a flawless finish.
Do Edge Profiles Affect Furniture Weight Distribution?
No, edge profiles rarely change structural balance; I don’t rely on roundovers or chamfers for load paths. They slightly alter local stiffness and weight distribution, but overall furniture strength and balance stay governed by joinery.
Can Edge Choice Impact Upholstery Attachment Points?
Measure twice, cut once: I think edge choice does affect attachment placement and fastener access—chamfers give precise flat surfaces for staples or screws, while roundovers can hide or complicate access, so I plan accordingly.
Are There Finish Types That React Poorly to Roundovers?
Yes—I’ve seen water based finishes highlight grain differently, and solvent based lacquers or lacquered polyurethane can tear on steep roundovers; shellac sands poorly on heavy radii, so I avoid extreme roundovers.
Do Chamfers or Roundovers Alter Resale Value?
Yes—I’d say both can raise or lower resale value: juxtaposing subtlety with boldness, market trends and buyer preferences decide whether a crisp chamfer feels bespoke or a soft roundover seems dated, so match treatment to audience.